Loading…


KnowledgeBase
Create Teams: Group Users for Lead Routing, Reporting & Sharing
What is a Team?#
A Team is a named group of users who work together. Teams are used for three things:
- Lead routing — automatically assign web form and ad leads to a specific team instead of a single person
- Sharing rules — share records with an entire team at once without listing every individual
- Reporting — filter dashboards and reports by team to compare performance across groups
ℹ️
Teams vs Roles: A Role determines what a user can see in the hierarchy. A Team is a flat group label — it does not restrict visibility on its own. A Sales Rep can be in the "North Region" team while still holding the Sales Representative role. A user can also belong to multiple teams at once.
What teams should you create?#
Create one team per working group. Common examples:
- Sales Team — all salespeople
- Marketing Team — campaign and content creators
- North Region / South Region — geographic splits
- Enterprise / SMB — segment-based splits
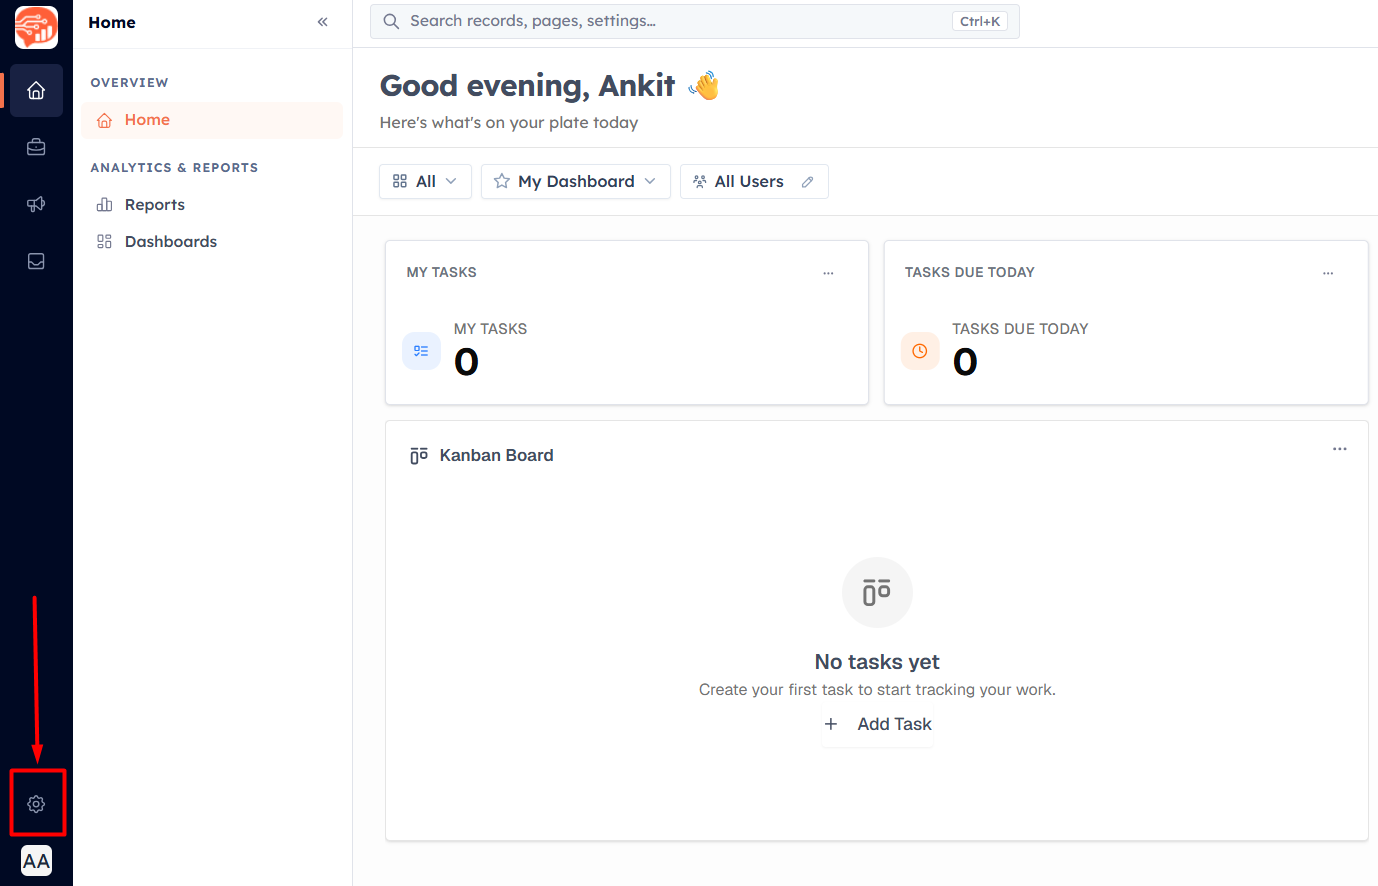
Step 1 — Open Settings#
Click the Settings icon in the left sidebar to open the Settings panel.
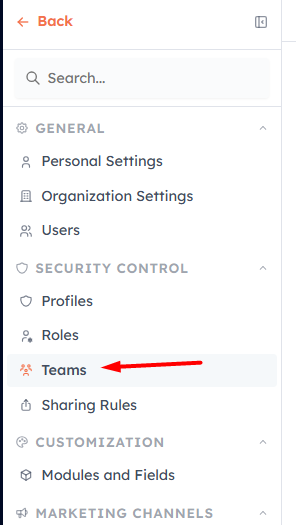
Step 2 — Go to Teams#
Under the General section, click Teams. On a new account this list will be empty.
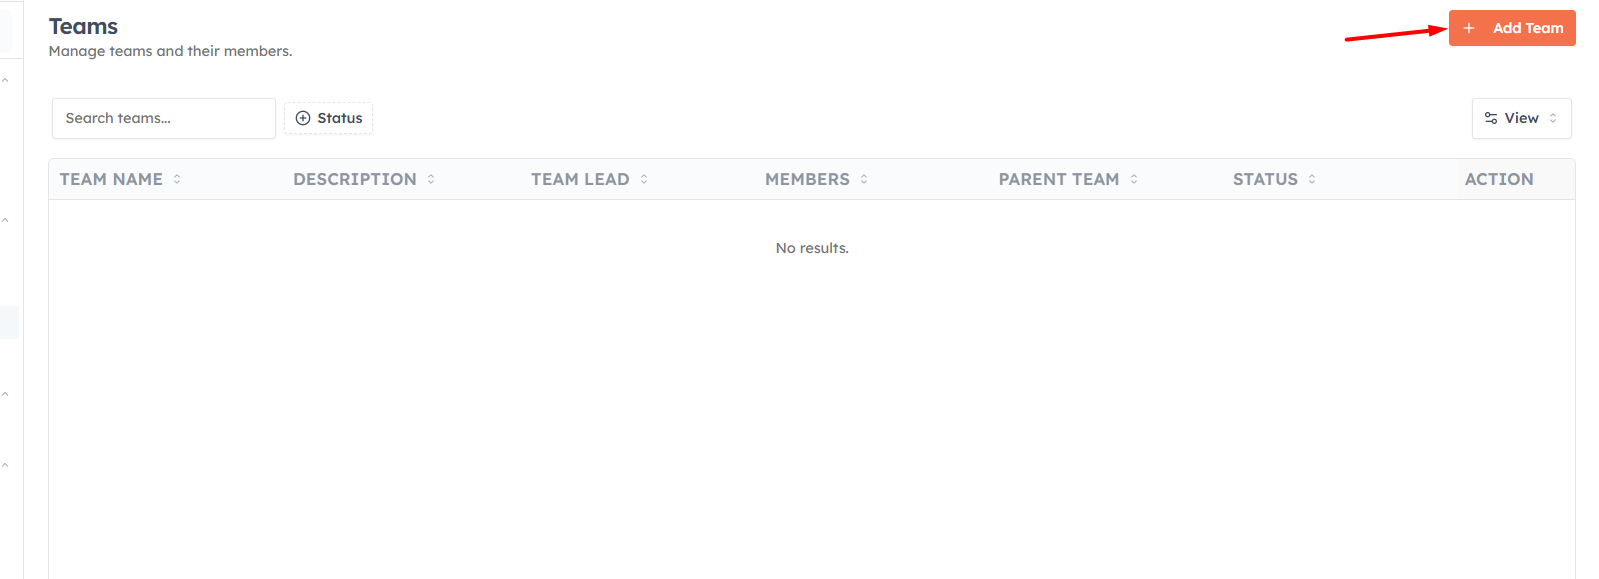
Step 3 — Click New Team#
Click the New Team button to open the team creation form.
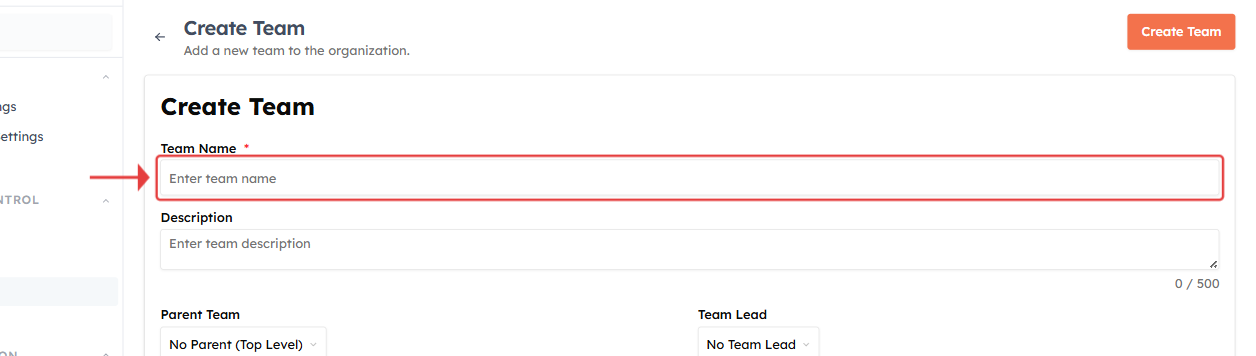
Step 4 — Enter the team name#
Type a clear, descriptive name for the team — for example Sales Team, North Region, or Enterprise Team. This name appears in lead routing settings, sharing rules, and report filters, so make it recognisable to everyone in your organisation.
Step 5 — Add a description (optional)#
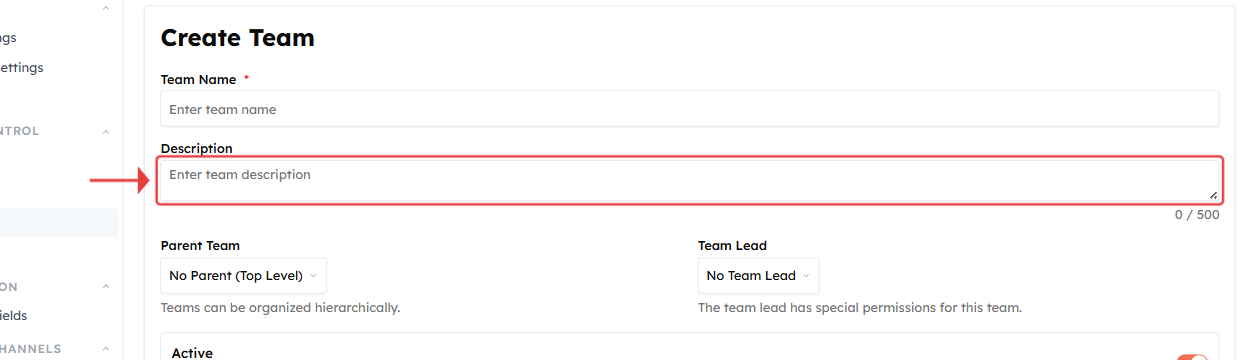
Use the Description field to explain what this team is for — who belongs to it, what they work on, or which region/segment they cover. Descriptions help teammates pick the right team when setting up sharing rules or routing. Maximum 500 characters.
Step 6 — Set a Parent Team and Team Lead (optional)#
Two optional fields appear side by side:
- Parent Team — teams can be organised hierarchically, just like roles. For example, "North Region" could be a sub-team of "Sales Team". Leave this empty if the team stands on its own.
- Team Lead — select a user to be the designated lead of this team. The team lead is shown with a crown badge in the members list and may have special permissions depending on your sharing rule configuration.

💡
You can set a Team Lead here or change it later by editing the team. The team lead does not have to be added separately as a member — they are shown on the members list automatically.
Step 7 — Active toggle and Save#
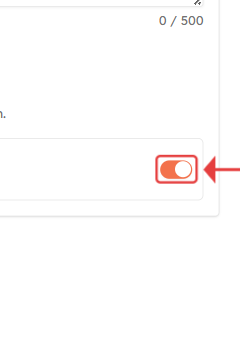
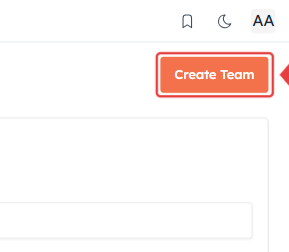
The Active toggle is on by default. Leave it on. An inactive team is hidden from lead routing, sharing rules, and user assignments. When you are ready, click Save to create the team.
✅
The team is created immediately. It now appears as an option in lead routing settings, sharing rules, and report filters.
Step 8 — Add members via the Members tab#
Members are managed after the team is created, not during creation. To add members:
- Go back to the Teams list
- Click Edit on the team you just created
- Switch to the Members tab
- Use the dropdown to select a user, then click Add Member
- Repeat for each team member


Each member appears as a card showing their avatar, full name, and email address. The team lead is marked with a crown badge. To remove a member, click the trash icon on their card.
ℹ️
You can add or remove members at any time without affecting existing records — changing team membership does not delete or reassign any contacts, leads, or deals.
💡
Create all your teams before setting up Sharing Rules. Sharing rules can share records with an entire team at once — but the team must exist first.
✅
Repeat Steps 3–8 for each team your organisation needs. For a typical company, start with Sales Team and Marketing Team and add more as needed.
Was this article helpful?
Ready to implement this?
OpenAI Engage and apply what you just learned to your own workspace.
Open AI Engage CRM