Loading…


KnowledgeBase
One Chat Widget Across Several Stores: Keep Each Store’s Chats and Tickets Separate (Step-by-Step)
Introduction#
Many businesses run more than one online store, for example one for office furniture and one for home décor, or one store per country. You don’t need a separate chat widget for each. You can install the same AiEngage chat widget on all of them, with the same look, the same AI agent and the same support team.
There is one thing to think about: customers who shop at more than one of your stores. By default the widget recognises a signed-in customer by their email address and shows them all their chats and tickets together. So a customer who signed in on your office store would also see the chats they had on your home store.
If you want each store to stay separate, add one extra line per store to the install script. It gives the store its own ID (an account):
w.crmwidget.visitor.account('office_store');From then on, the customer only sees that store’s chats and tickets in the widget, and your team receives each store’s conversations separately.
Part | What you’ll learn |
|---|---|
Part 1 | Do you need this? When to keep stores separate and when not to |
Part 2 | Find the per-store lines in the install script and copy it |
Part 3 | Add the script to each store with its own store ID |
Part 4 | Check it on each store |
Part 5 | What changes for your customers and your team, and the rules to follow |
The examples use two sample stores, BrightPath Office (brightpath-office.com) and BrightPath Home (brightpath-home.com), and one signed-in customer, Mark Holt, who shops at both.
ℹ️
Before you start: you need an active chat widget and its install script. If you haven’t set one up yet, follow Set Up the Website Chat Widget for Support and Install the Chat Widget on Your Website first.
Part 1: Do you need this?#
Your situation | What to do |
|---|---|
One store or website | Nothing. Install the widget as normal and leave the per-store line out. |
Several stores, and you want one combined history per customer | Install the same script on every store without the per-store line. A customer sees all their chats and tickets in every store. |
Several stores that should stay separate | Install the same script on every store and give each store its own ID with the per-store line (Parts 2–4). |
Keeping stores separate is useful when they are different brands, sell to different customers, or are run by different teams, and a customer of one store shouldn’t be shown conversations about the other.
Part 2: Find the per-store lines in the install script#
Step 1: Open the Chat Widget settings#
Click the headset icon in the left icon bar to open Customer Support, click Settings at the bottom of its panel, then open the Chat Widget tab.
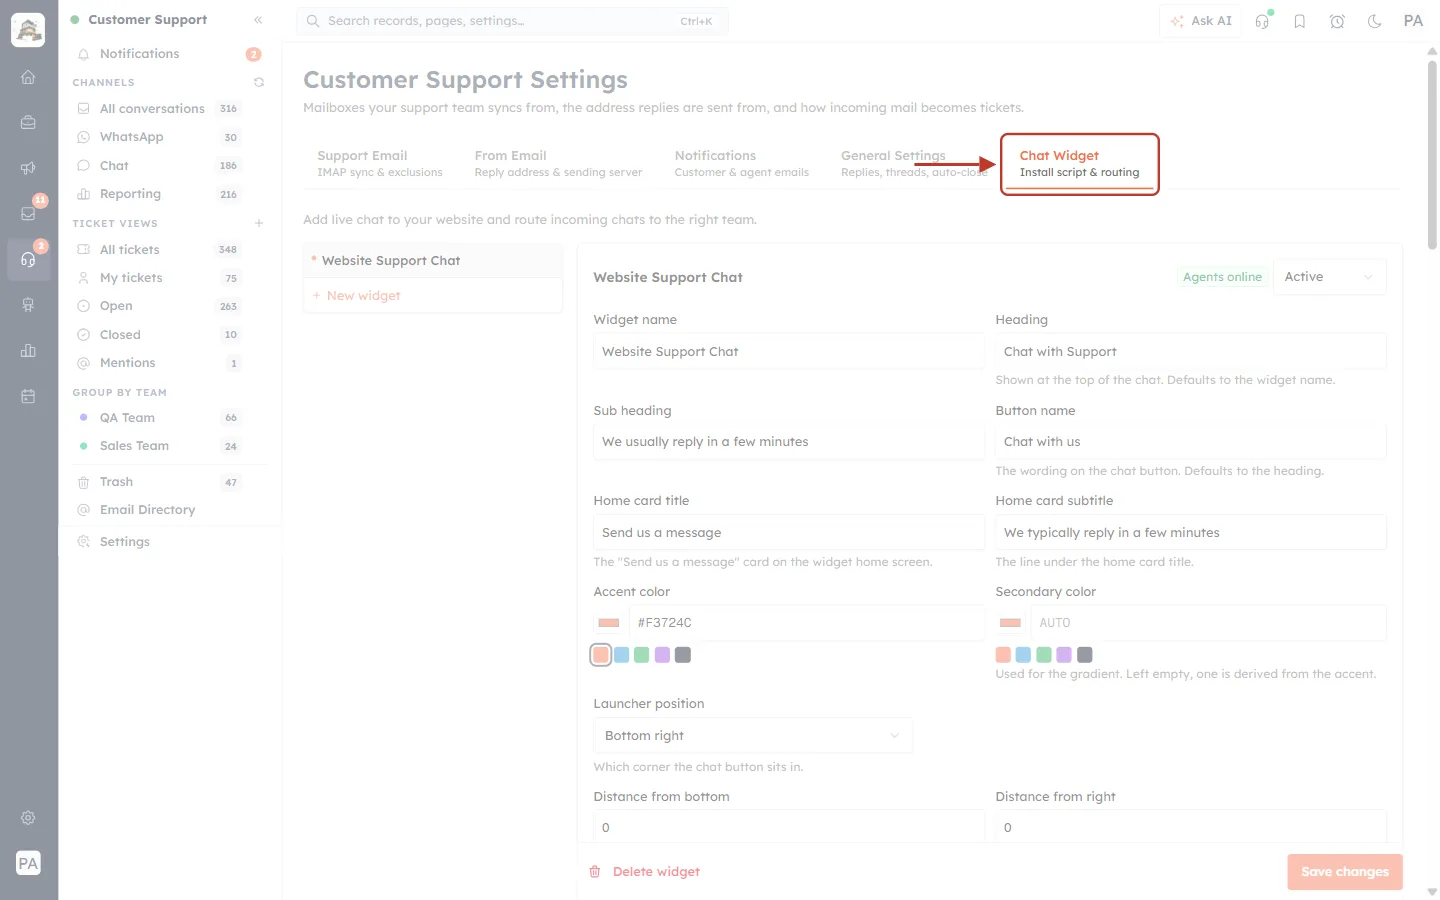
What this screenshot shows. Customer Support Settings, with the Chat Widget tab (Install script & routing) ringed.
This tab lists your chat widgets and holds each widget’s settings and install script.
Step 2: Choose the widget you use on your stores#
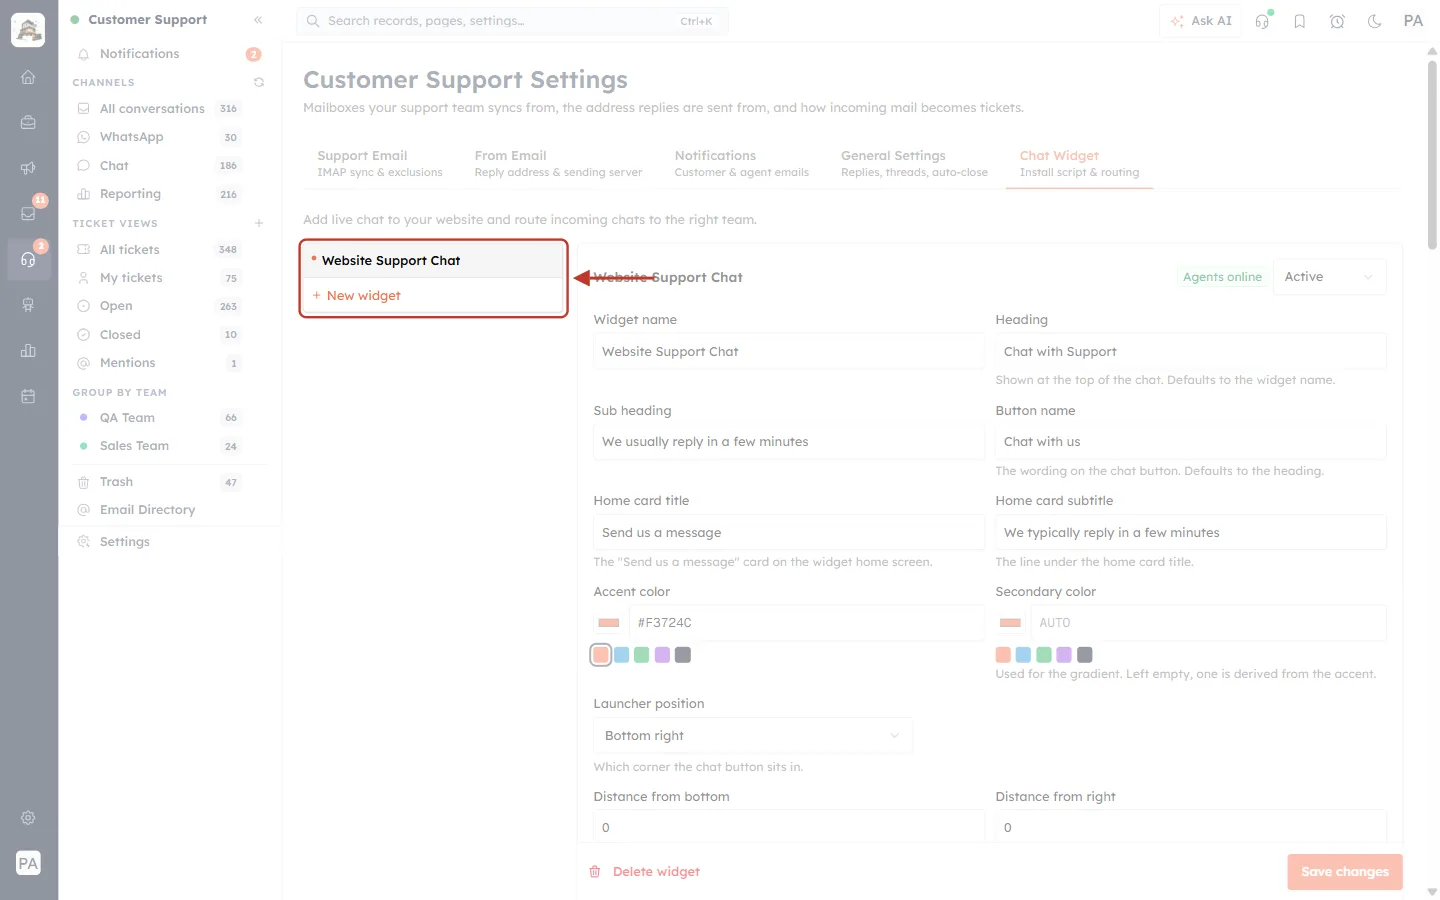
What this screenshot shows. The list of widgets on the left of the Chat Widget tab, ringed. Here it holds one widget, Website Support Chat, and the + New widget link.
Click the widget you want to put on your stores. Its settings open on the right.
You use one widget for all the stores. You don’t need to create one per store.
Step 3: Scroll to the install script#
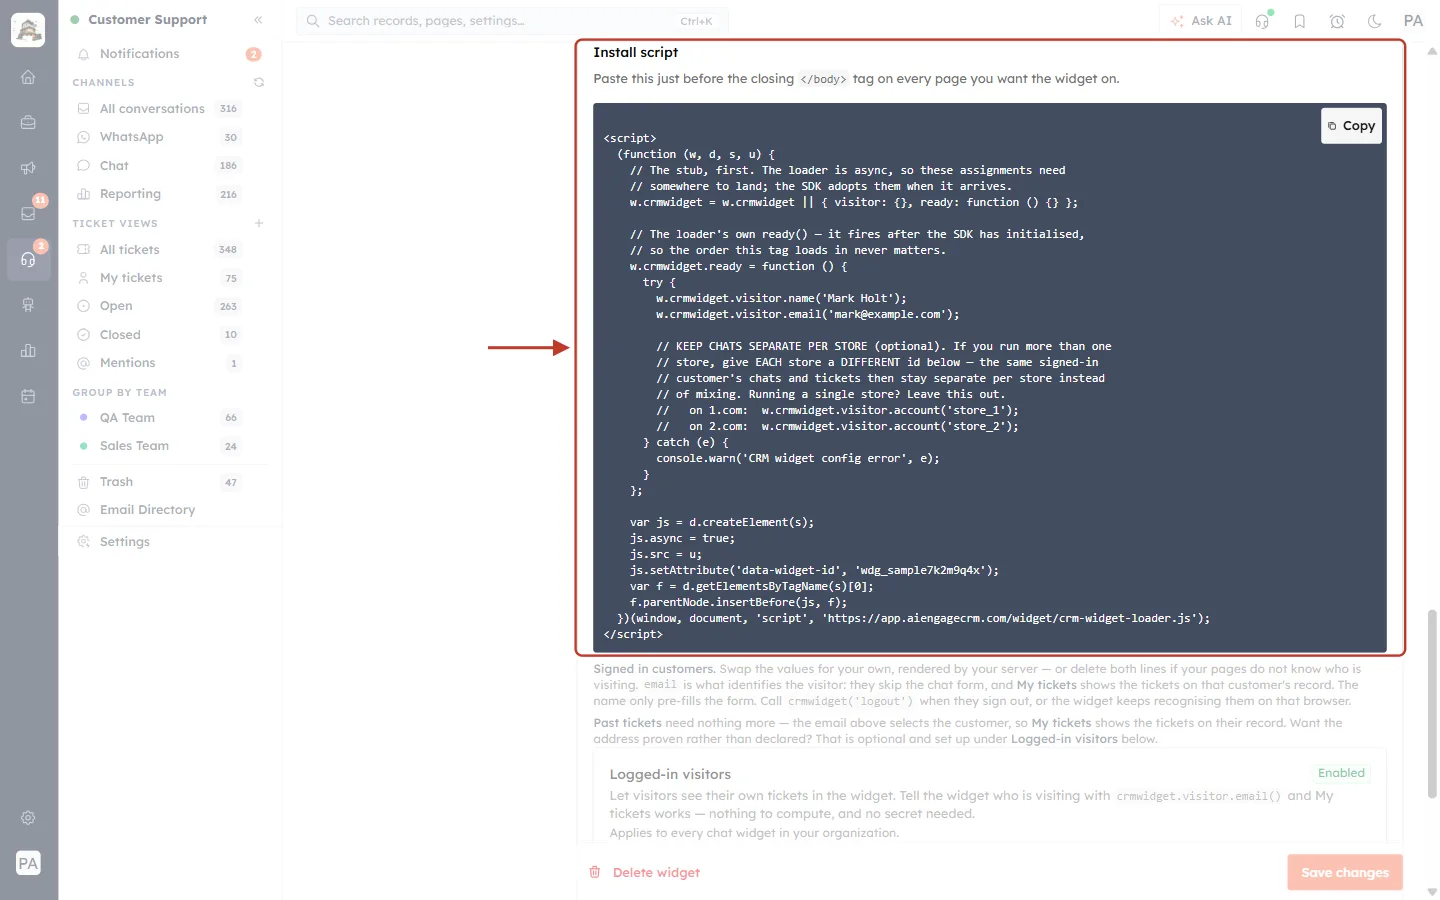
What this screenshot shows. The Install script card, ringed: “Paste this just before the closing </body> tag on every page you want the widget on.” Below is the script in a dark box with a Copy button.
This is the one script you paste on every store.
The script includes comment lines (starting with //) that explain each part. They do nothing on your site.
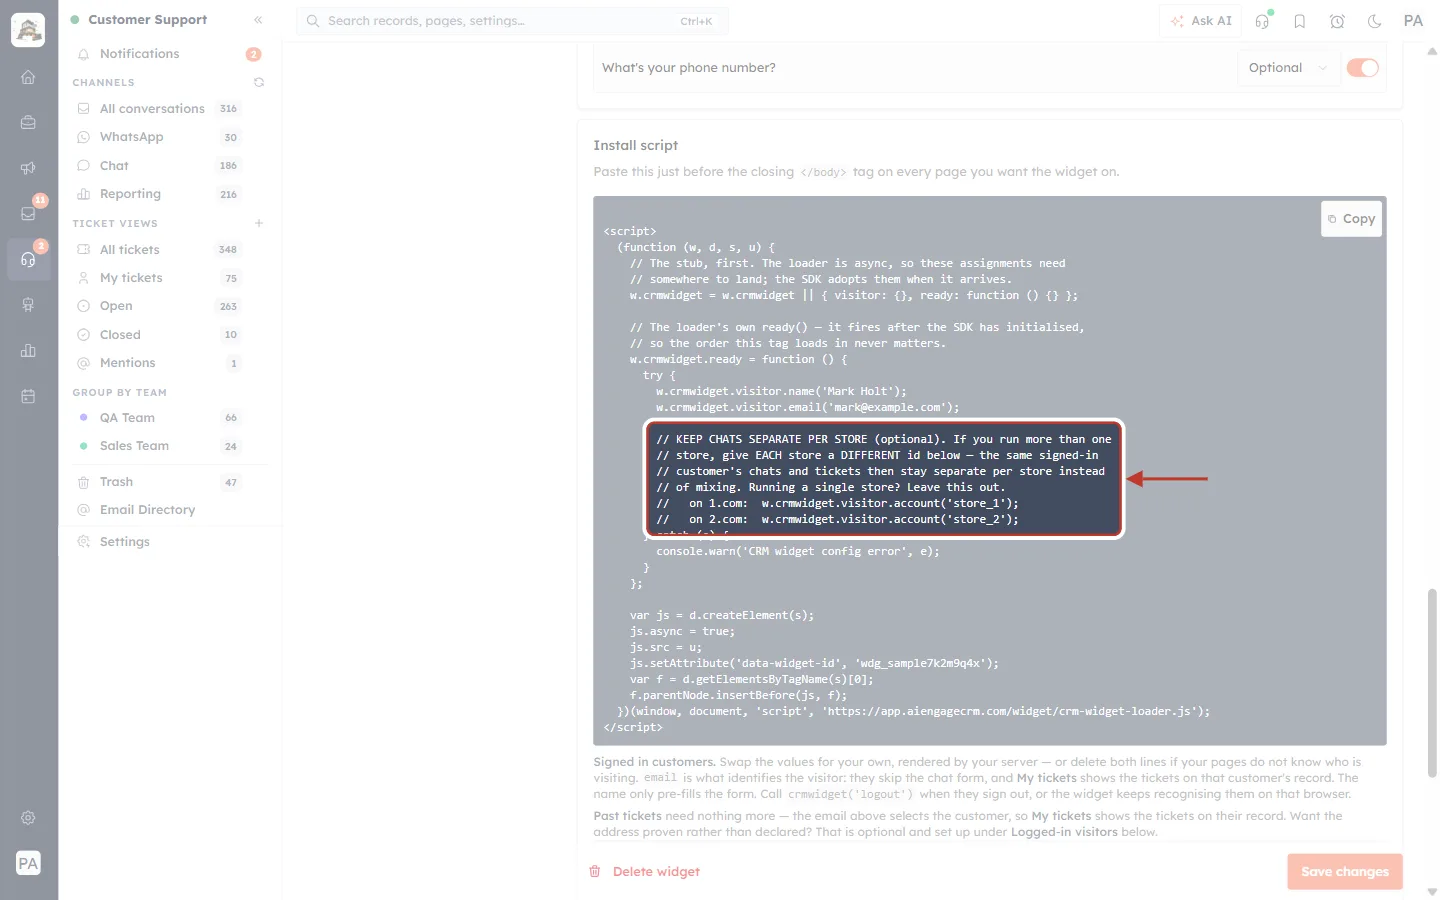
What this screenshot shows. Inside the script, the comment block is ringed: “KEEP CHATS SEPARATE PER STORE (optional). If you run more than one store, give EACH store a DIFFERENT id below — the same signed-in customer’s chats and tickets then stay separate per store instead of mixing. Running a single store? Leave this out.” It ends with two example lines for 1.com and 2.com.
These lines are switched off (they start with //) until you use them.
They show exactly what to add on each store.
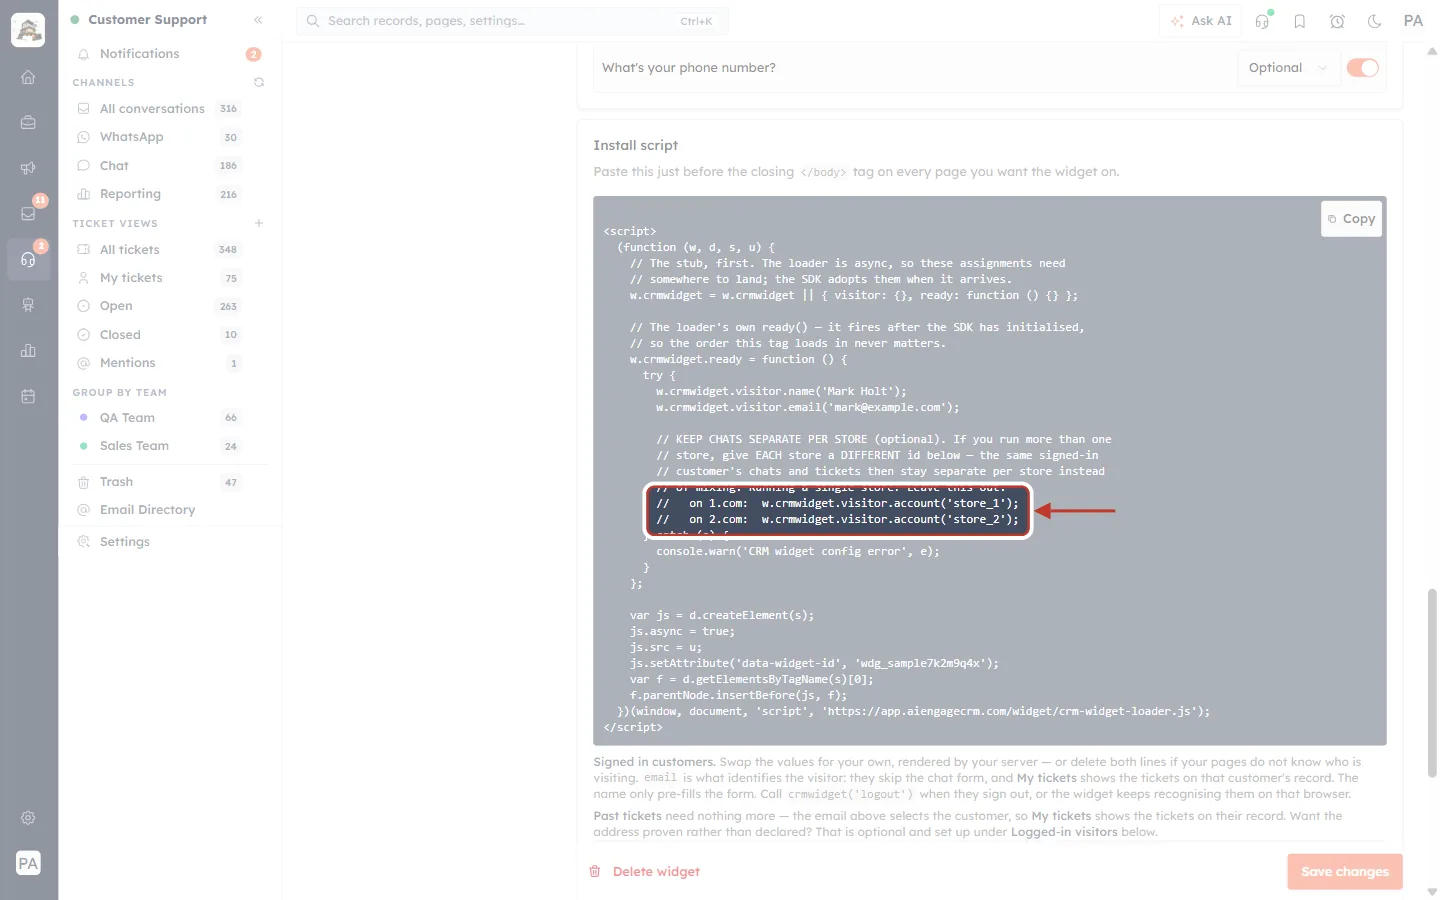
What this screenshot shows. The two example lines, ringed: “on 1.com: w.crmwidget.visitor.account('store_1');” and “on 2.com: w.crmwidget.visitor.account('store_2');”.
On your first store you’d use the first line, and on your second store the second one, each with your own ID instead of store_1 / store_2.
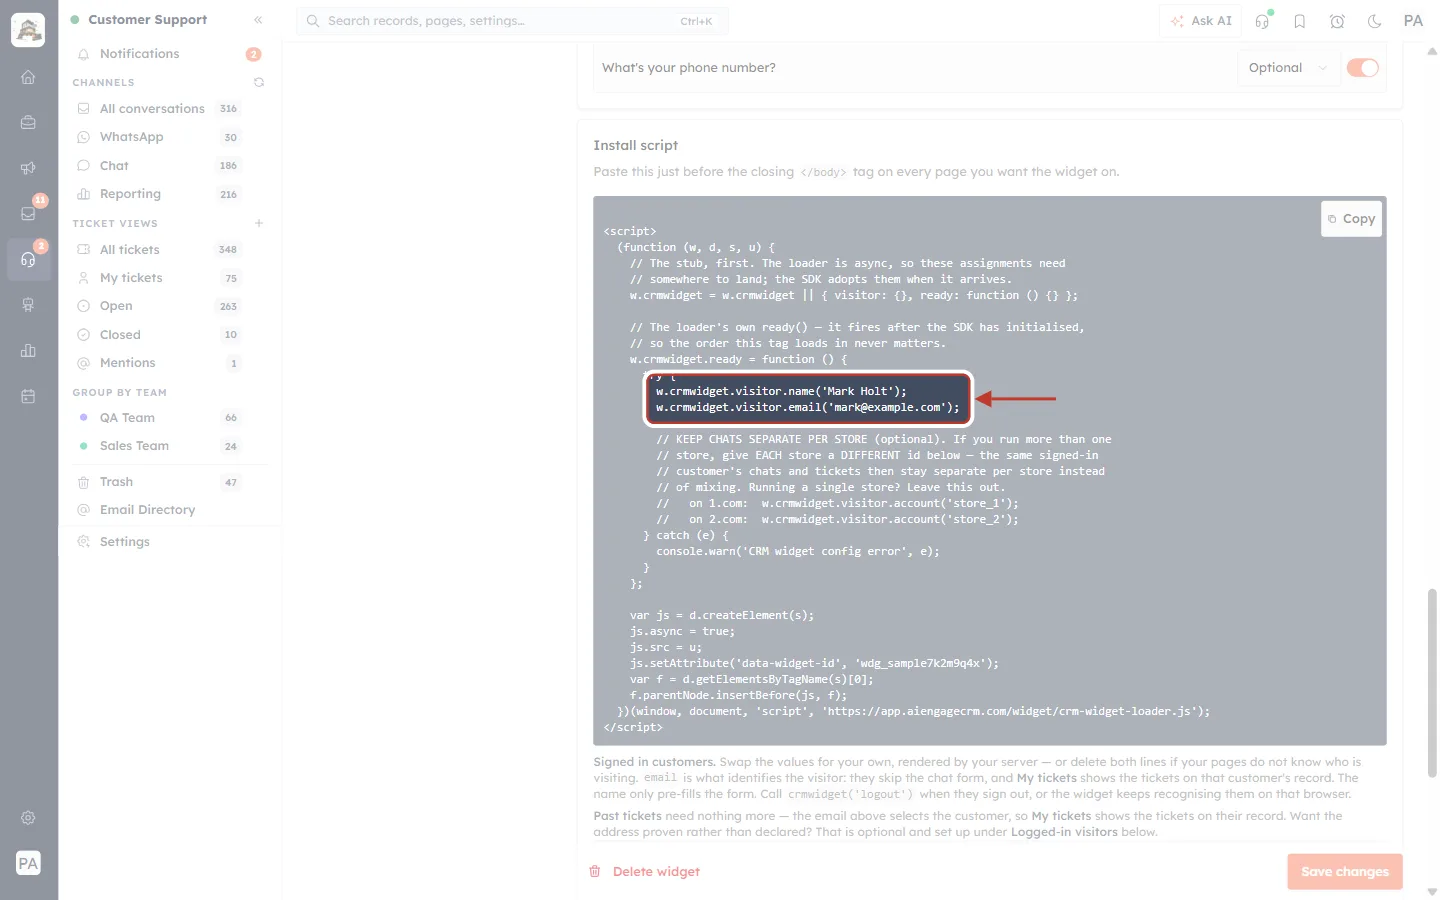
What this screenshot shows. Just above, the two lines w.crmwidget.visitor.name('Mark Holt'); and w.crmwidget.visitor.email('mark@example.com'); are ringed.
These tell the widget who the signed-in customer is. Your store fills them in with the real customer’s name and email.
The per-store line belongs right after these two lines, inside the same block.
The sample values (Mark Holt, mark@example.com) are ignored by the widget, so they can never be used by mistake. Replace them with your own values.
Step 4: Copy the script#
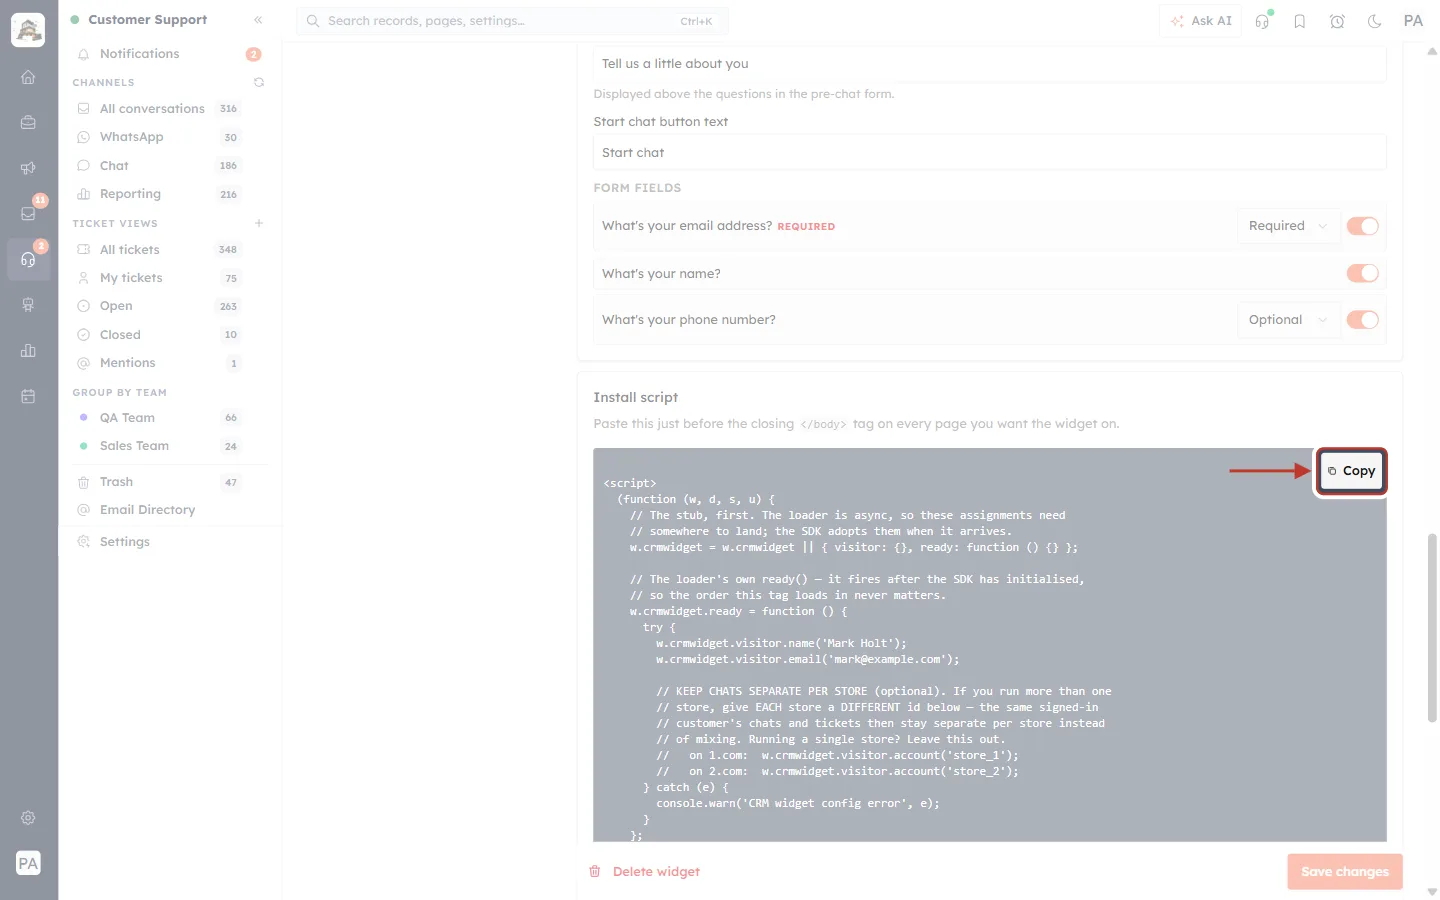
What this screenshot shows. The Copy button at the top right of the script box, ringed.
Click it to copy the whole script.
What this screenshot shows. The same button now reads Copied, ringed.
The script is on your clipboard. The button changes back after two seconds.
Part 3: Add the script to each store with its own store ID#
Step 1: Choose an ID for each store#
An ID is any short text that names the store, for example:
Store | Example ID |
|---|---|
BrightPath Office (brightpath-office.com) |
|
BrightPath Home (brightpath-home.com) |
|
A Shopify, WooCommerce or Magento store | Its own store ID from that platform, if you prefer |
Different on every store. Two stores with the same ID are treated as one store.
Never change it later. The ID is saved on every chat and ticket. If you change it, older chats and tickets stay under the old ID and stop showing in the widget.
Spell it exactly the same on every page of a store. It is matched exactly, so keep the same letters and capitals.
Step 2: Paste the script on store 1 and add its line#
Paste the script just before the closing body tag on every page of your first store (or in your store theme’s footer). Then, inside the script, after the visitor name and email lines, add the store’s line:
w.crmwidget.visitor.name(customerName);      // filled in by your store
w.crmwidget.visitor.email(customerEmail);    // filled in by your store

// Keep this store's chats and tickets separate from our other stores
w.crmwidget.visitor.account('office_store');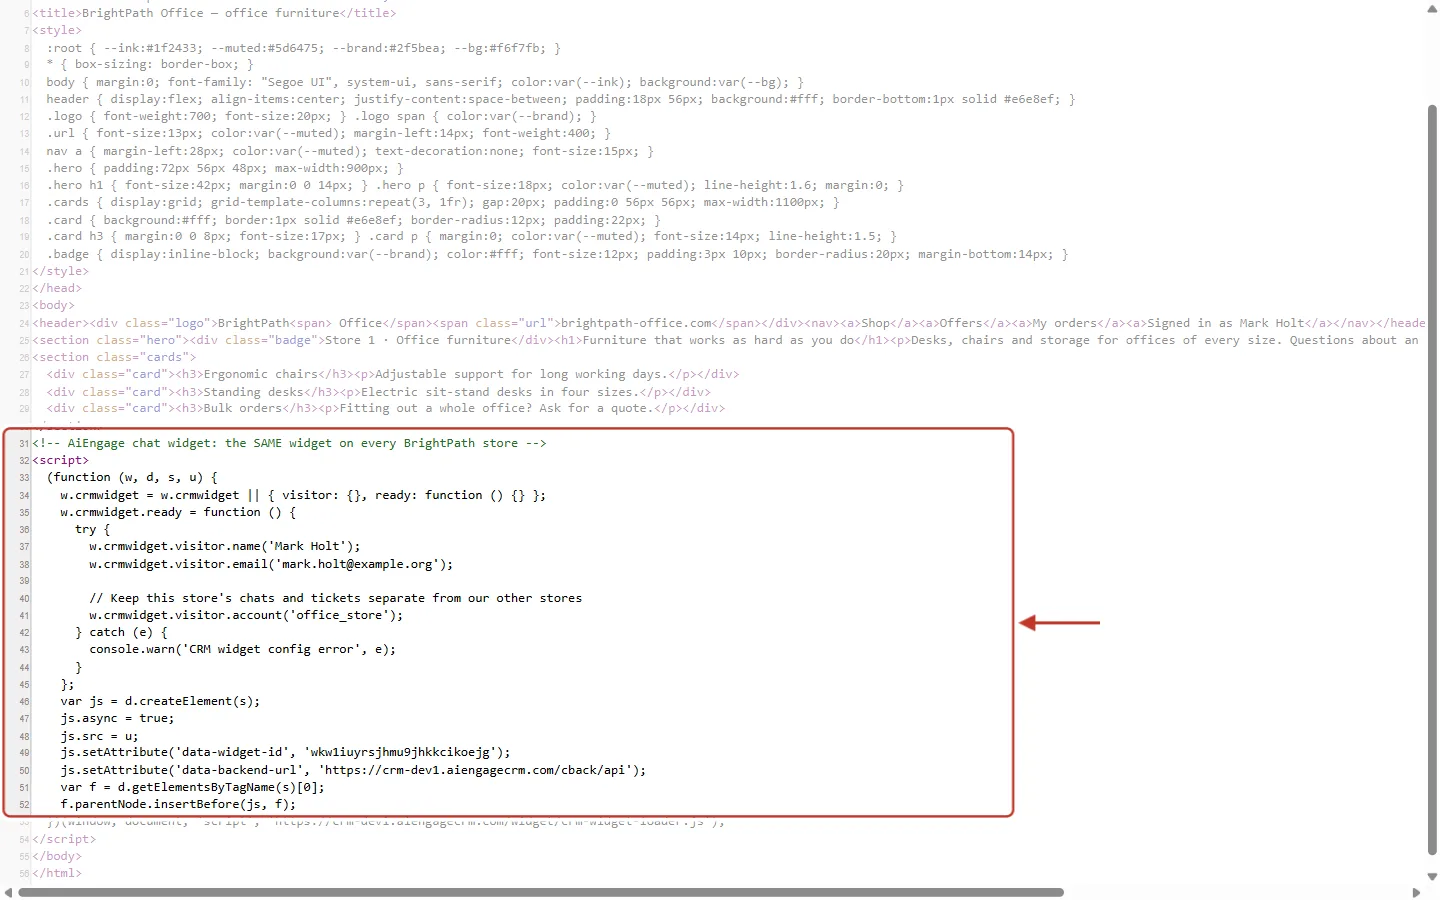
What this screenshot shows. The page source of the sample BrightPath Office store (the browser’s View page source). The ring surrounds the whole AiEngage chat widget script at the bottom of the page, from the comment “AiEngage chat widget: the SAME widget on every BrightPath store” to the end of the script.
It’s the same script you copied in Part 2, placed just before the closing body tag.
The widget ID (data-widget-id) is the same on every store, because it’s the same widget.
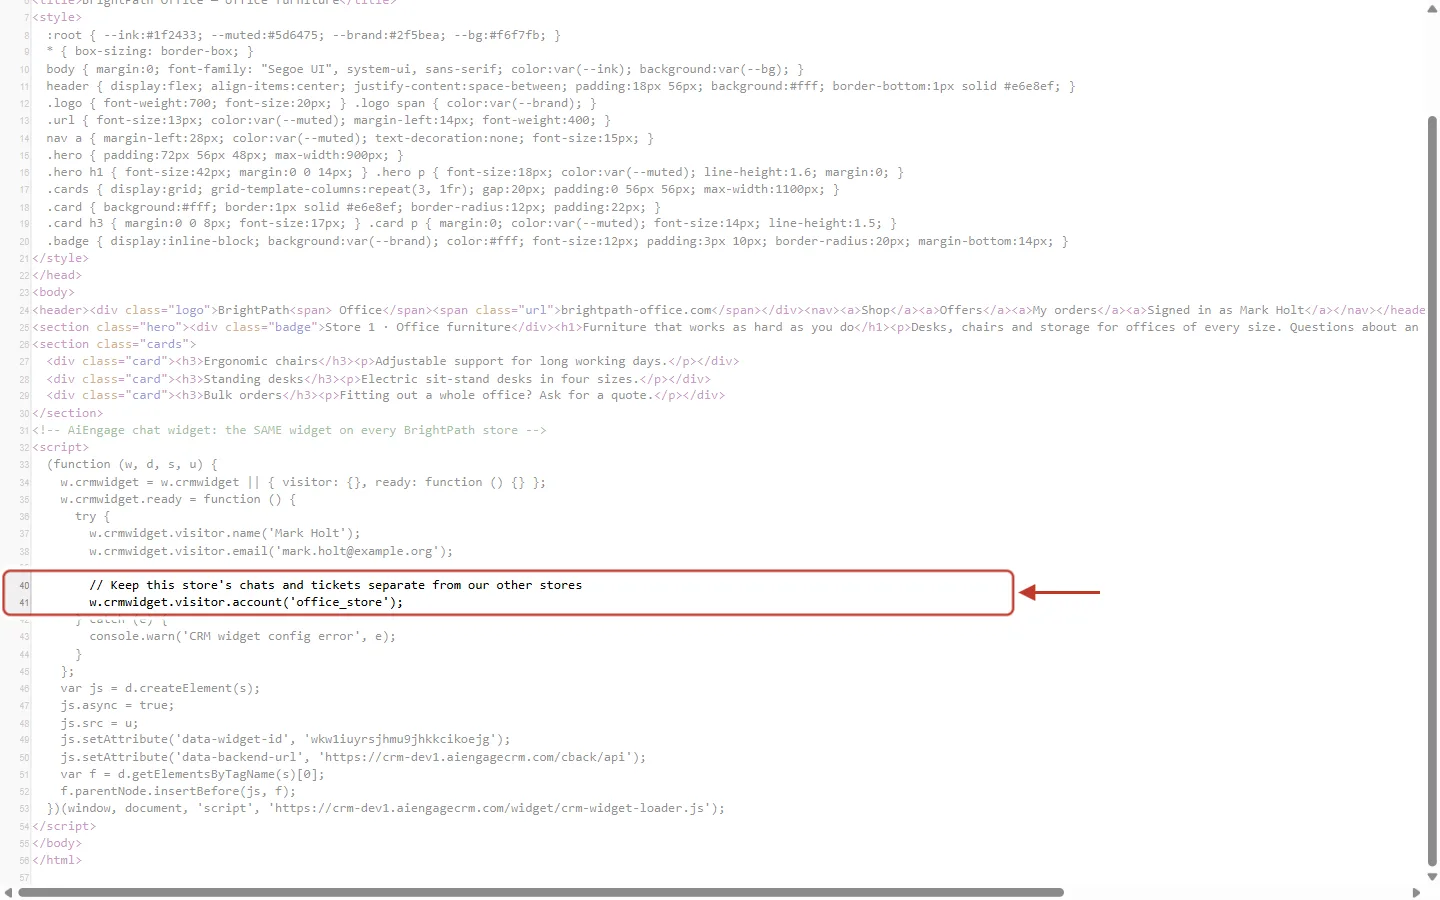
What this screenshot shows. The same page source, with the two added lines ringed: “// Keep this store’s chats and tickets separate from our other stores” and w.crmwidget.visitor.account('office_store');.
This line gives BrightPath Office the ID office_store.
It sits inside the try block, right after the visitor name and email lines.
Step 3: Paste the script on store 2 with a different ID#
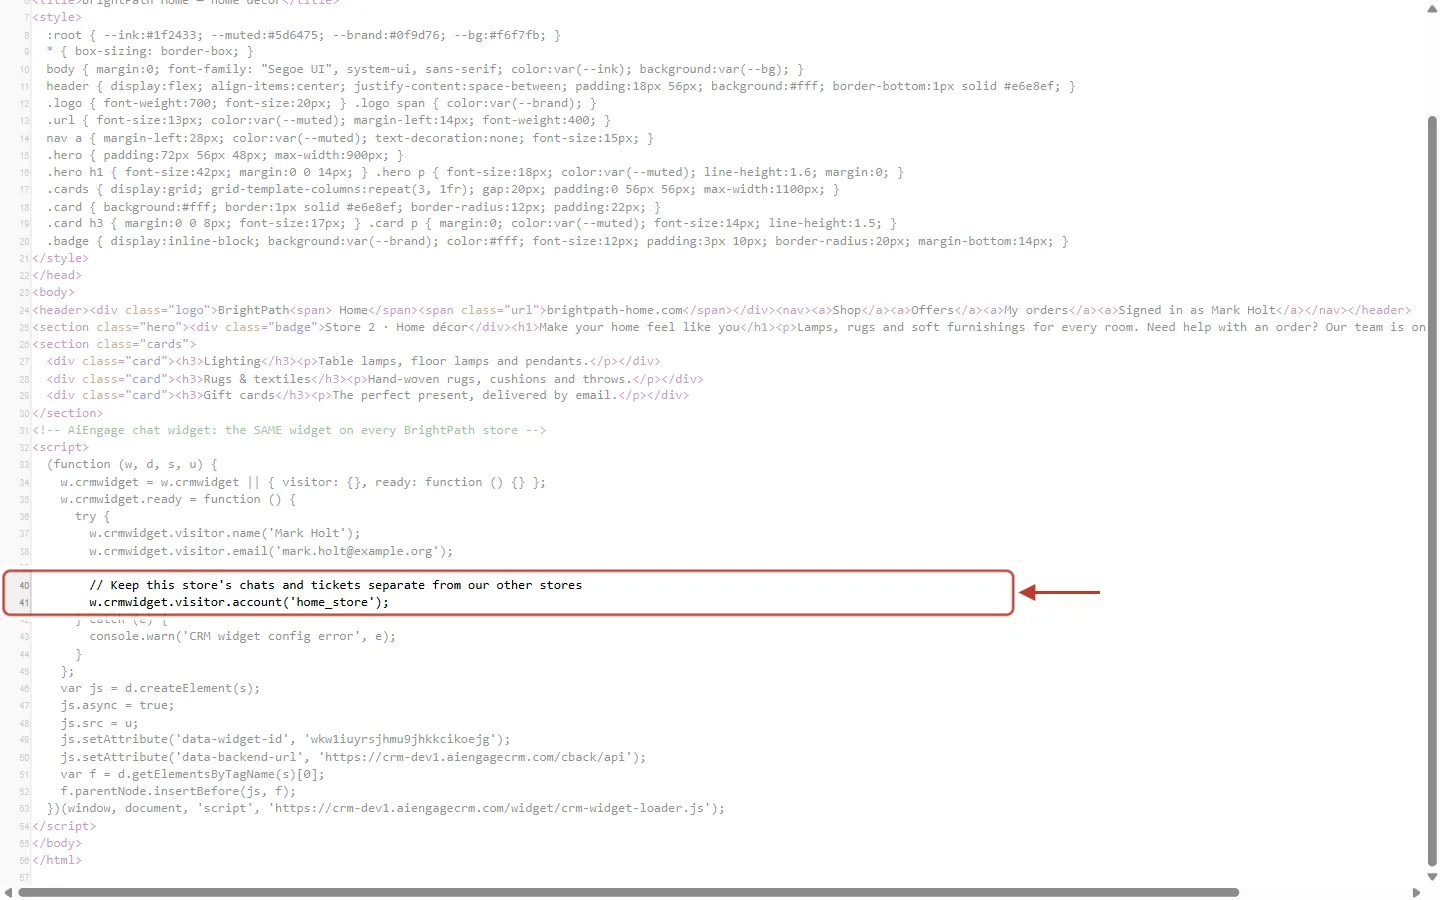
What this screenshot shows. The page source of the sample BrightPath Home store. The ringed line is w.crmwidget.visitor.account('home_store');. Everything else in the script is identical to store 1.
Only this one value differs between the stores.
Repeat for every other store, each with its own ID.
ℹ️
Using the short one-line script tag instead? If you install the widget with a plain script tag, you can add the store ID as an attribute instead:
data-account-identifier="office_store". Use one method or the other, not both.Part 4: Check it on each store#
Open each store in your browser. The same chat button appears in the corner of both, because it’s the same widget.
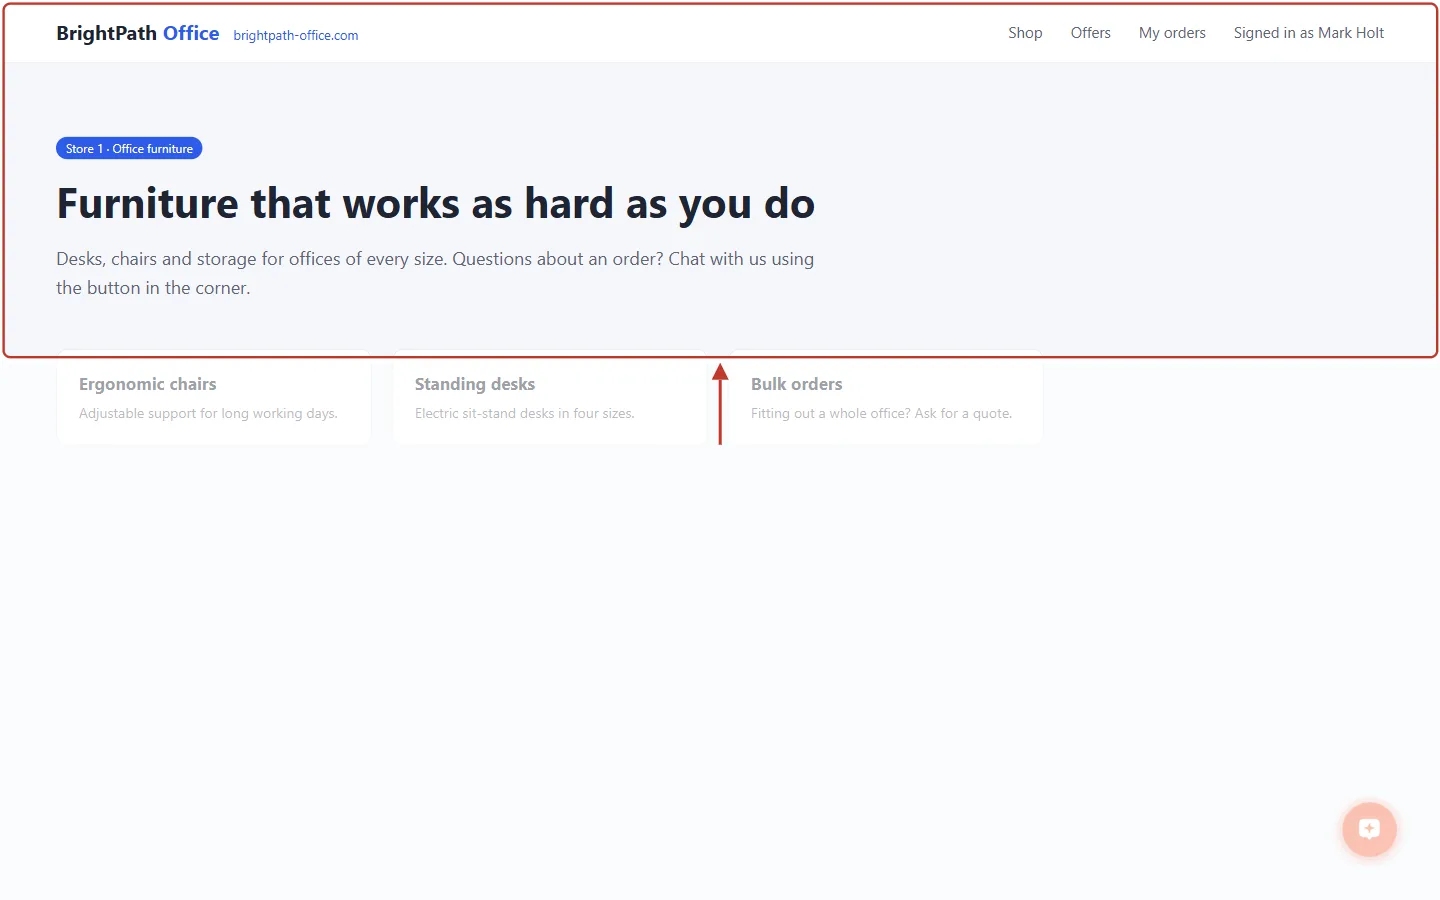
What this screenshot shows. The sample BrightPath Office store (brightpath-office.com), with its header and banner ringed: “Store 1 · Office furniture — Furniture that works as hard as you do”. The top right shows “Signed in as Mark Holt”.
Mark is signed in, so the store passes his email to the widget, together with the ID office_store.
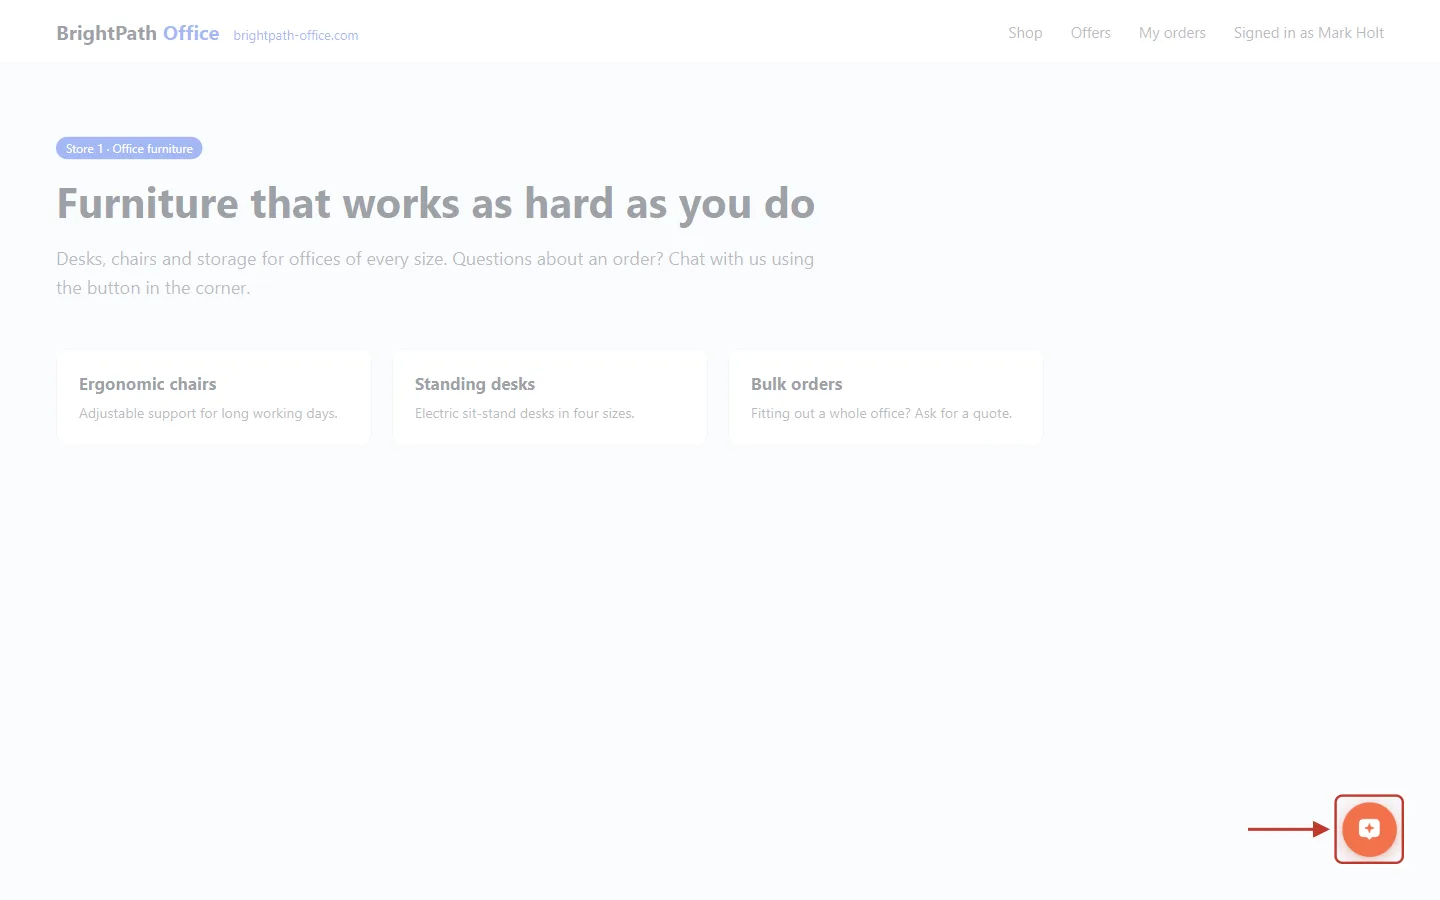
What this screenshot shows. The orange chat button in the bottom-right corner of BrightPath Office, ringed.
This is your AiEngage chat widget. Click it to open the chat.
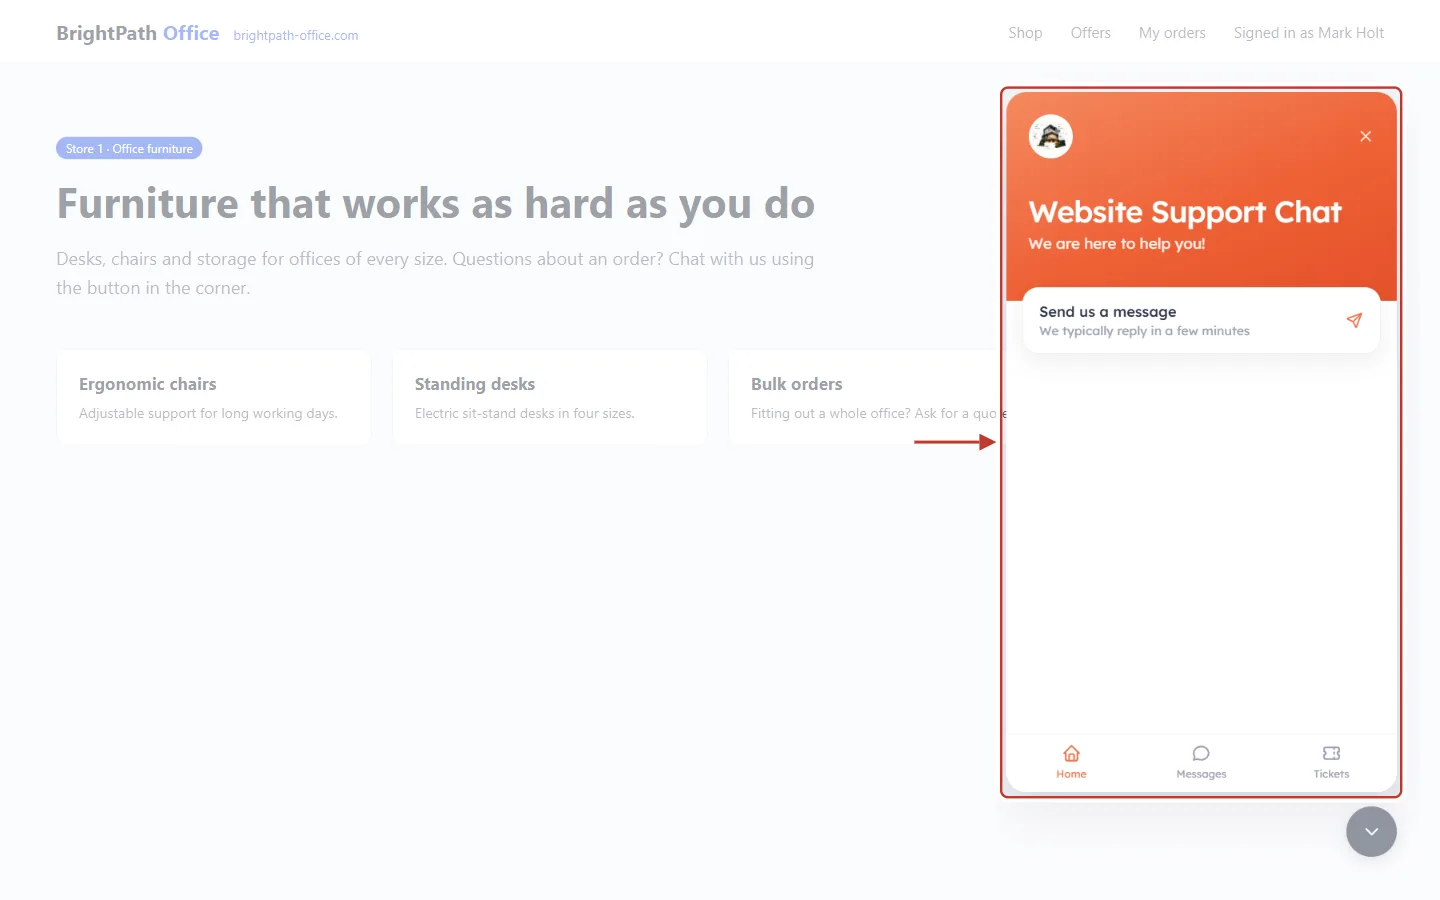
What this screenshot shows. The open widget on BrightPath Office, ringed: the heading Website Support Chat, “We are here to help you!”, a Send us a message card, and the tabs Home, Messages and Tickets at the bottom.
Messages shows Mark’s chats from this store only.
Tickets shows the tickets Mark raised on this store only.
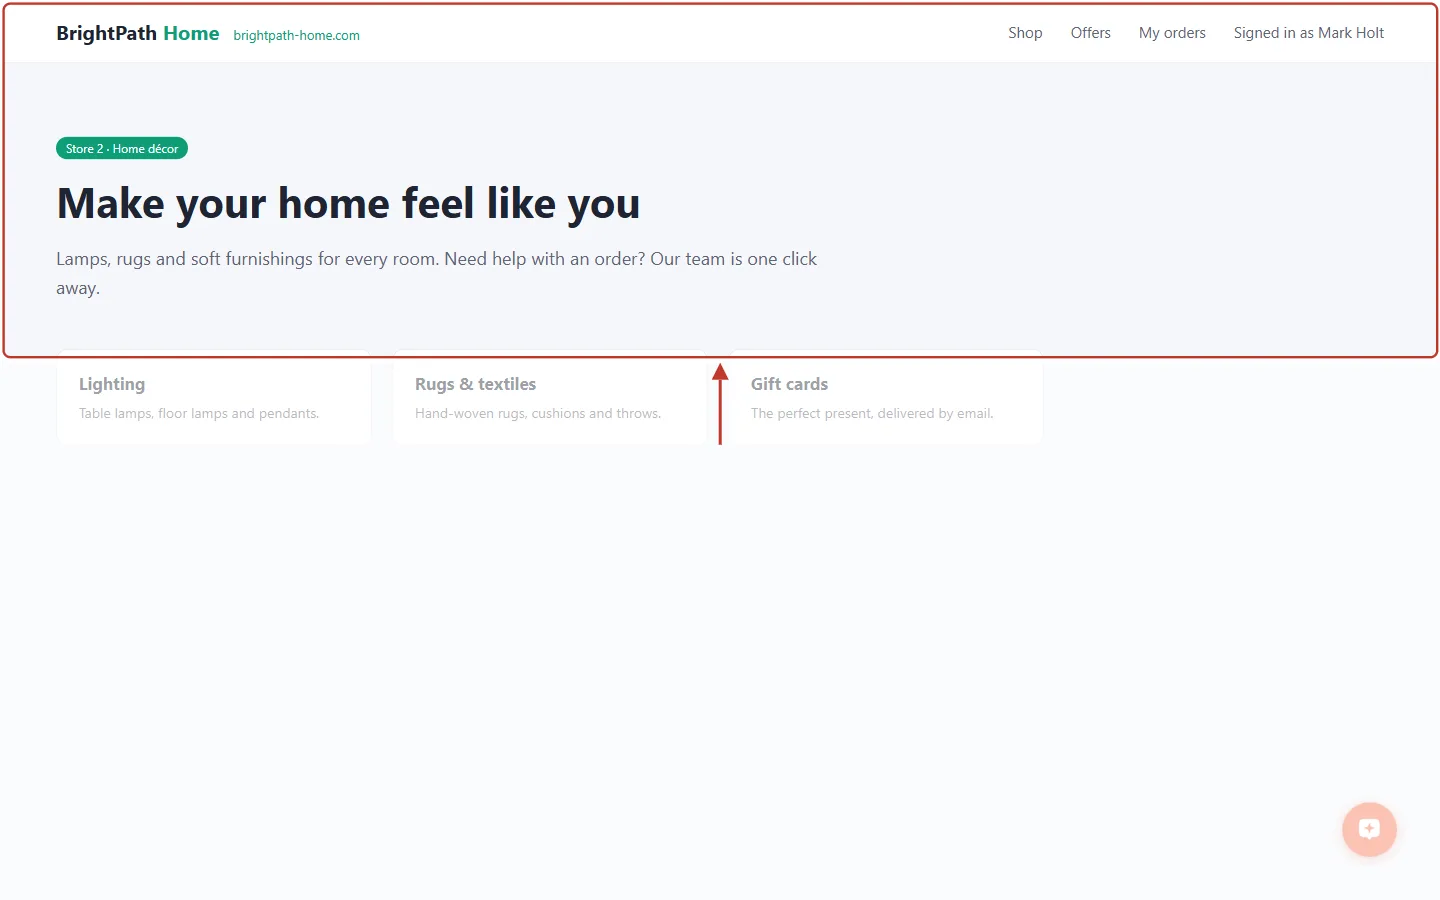
What this screenshot shows. The sample BrightPath Home store (brightpath-home.com), with its header and banner ringed: “Store 2 · Home décor — Make your home feel like you”. Mark is signed in here too.
Same customer, same email, but this store passes the ID home_store.
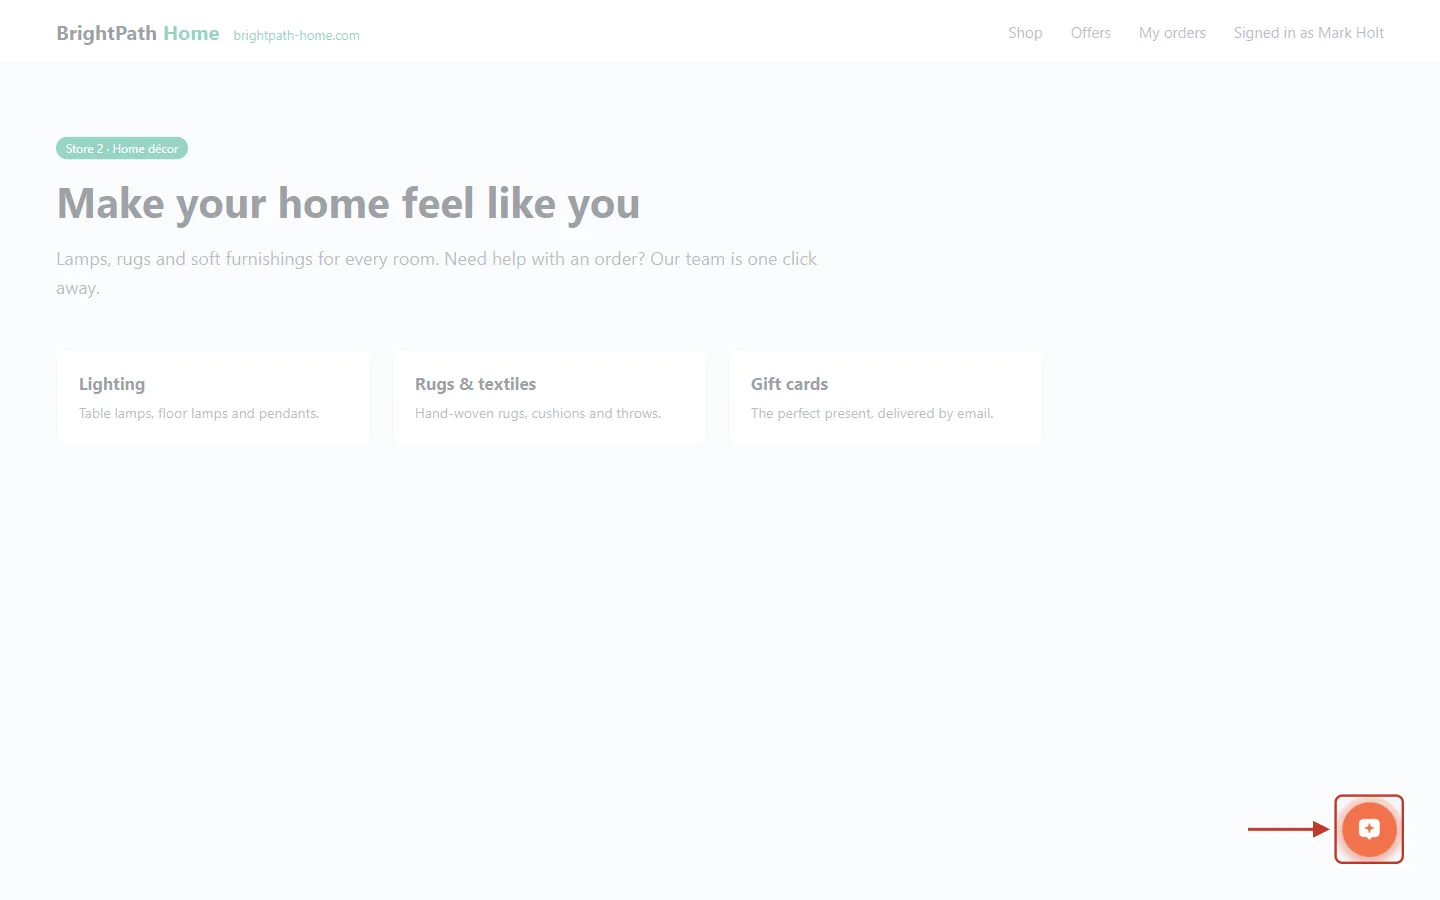
What this screenshot shows. The same chat button, in the same corner, on BrightPath Home, ringed.
One widget, installed on both stores.
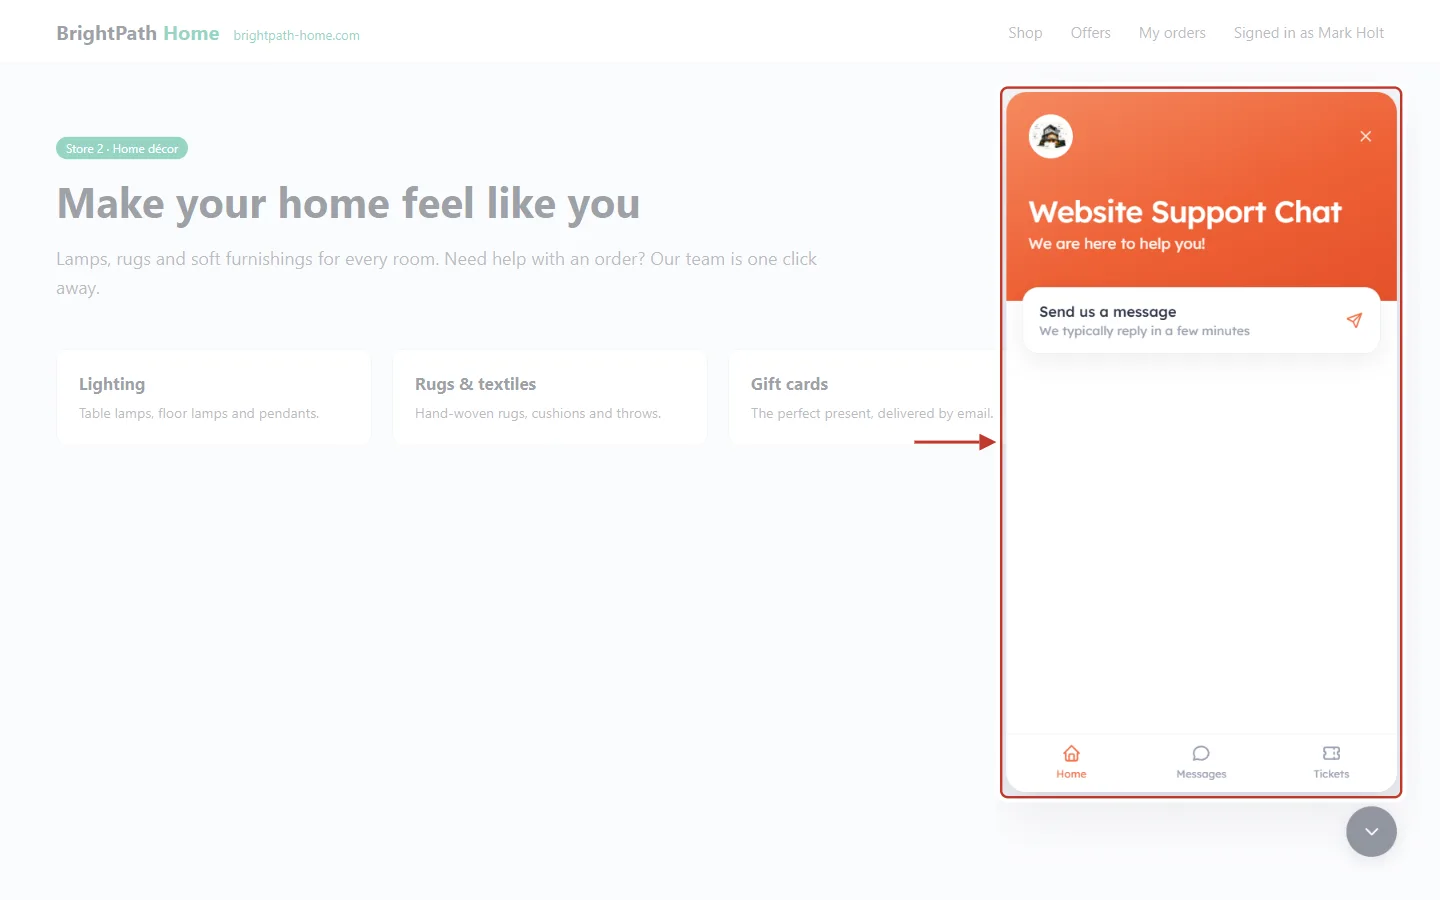
What this screenshot shows. The open widget on BrightPath Home, ringed. It looks exactly the same as on BrightPath Office: Website Support Chat, Send us a message, Home / Messages / Tickets.
The difference is in the content: Messages and Tickets here show only what Mark started on BrightPath Home, not his BrightPath Office chats.
✅
Quick test: sign in on store 1 with a test customer and send a chat message. Then sign in on store 2 with the same customer and open Messages. The store 1 chat shouldn’t be there. Without the per-store line, it would be.
Part 5: What changes, and the rules to follow#
For your customers#
Without a store ID | With a store ID on each store | |
|---|---|---|
Messages tab | All the customer’s chats, from every store | Only the chats from the store they are on |
Tickets tab | All the customer’s tickets, from every store | Only the tickets raised on the store they are on |
Continuing a chat | One ongoing conversation across your stores | A separate conversation per store |
For your team#
Every chat and ticket started through the widget is saved with the store’s ID.
Your team still works in Customer Support as usual (see Customer & Support: Handle Customer Tickets from First Message to Resolution). A customer who chats on two stores appears as two separate conversations, one per store, instead of one mixed thread.
It’s still the same customer record (contact) in your CRM. The store ID only separates the conversations and tickets.
Rules to remember#
Rule | Why |
|---|---|
Use a different ID on each store | The same ID on two stores makes them one store again. |
Keep the ID the same forever | Chats and tickets keep the ID they were created with. Changing it hides older history from the widget. |
Decide before you go live | Chats and tickets created before you added the line have no store ID, so they won’t appear in the widget’s Messages and Tickets once the line is added. Your team still sees them in Customer Support. |
Put the line after the visitor email | Store separation matters for signed-in customers, the ones the widget recognises by email on every store. |
⚠️
This is for keeping things tidy, not a security lock. A customer only ever sees their own chats and tickets, whichever store they’re on, and never another customer’s. The store ID simply groups a customer’s own conversations by store. It can’t reach another organization’s data.
Common questions#
Question | Answer |
|---|---|
Do I need a separate widget for each store? | No. One widget works on all your stores. Add a store ID only if you want each store kept separate. |
Can I set the store ID in the CRM instead of the script? | No. A single setting would give every store the same ID, which is exactly what has to be avoided. Each store sets its own ID in its own copy of the script. |
Can each store have a different look or AI agent? | Not with one widget. If your stores need different colours, wording or AI agents, create a separate widget for each in the Chat Widget tab. |
What if a customer isn’t signed in? | Visitors who aren’t signed in are recognised by their browser on each site, so their chats already stay with that site. |
Previous and next#
Previous: Install the Chat Widget on Your Website
Next: Find the Right Tickets Fast: Ticket Views, Team Groups & Notifications
Related articles#
Was this article helpful?
Ready to implement this?
OpenAI Engage and apply what you just learned to your own workspace.
Open AI Engage CRM