Loading…


KnowledgeBase
Meeting List Views & Columns
What this covers#
The Meetings list arrives showing fifteen columns. The module has forty-four. Which fifteen you see is a setting, and it is the difference between a list you scan and a list you scroll sideways through looking for the thing you wanted.
This article covers the two views that ship with it, the column manager behind the View button, and what the footer is telling you.
The controls above the grid#
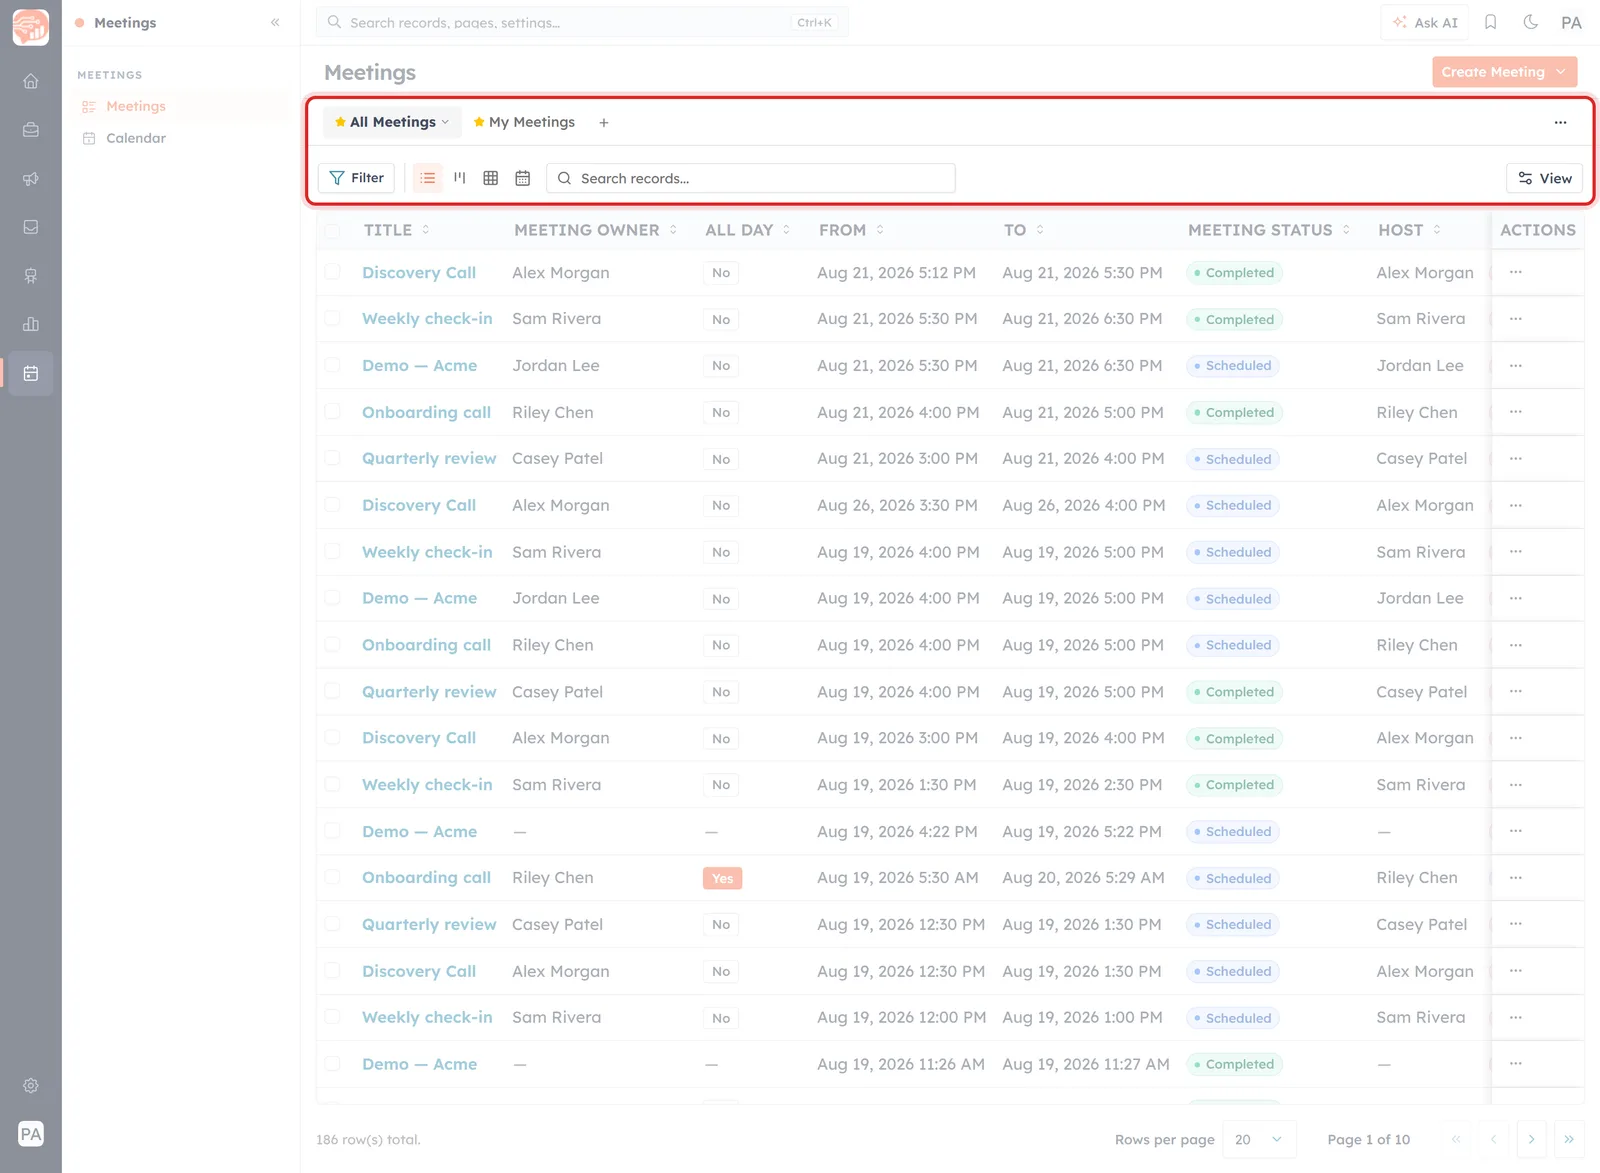
Saved views on the top row; Filter, display modes, search and View underneath.
Two rows of controls sit above the meetings themselves.
The top row is your saved views. Two come as standard:
- All Meetings — everything you have access to.
- My Meetings — the ones you own. It genuinely filters: on the account these screenshots came from, All Meetings holds 186 records and My Meetings holds one.
A + sits beside them for adding another, and a ⋯ at the far right holds the actions for the view you are on.
The second row is how you narrow things down — a Filter control, a set of display-mode icons, a Search records… box, and View on the right, which is the one this article is really about.
💡
Switch to My Meetings first. On any shared CRM, All Meetings is mostly other people’s work. Most of the “this list is useless” feeling is just the wrong view being selected.
Manage Columns#
Click View and the column manager opens.
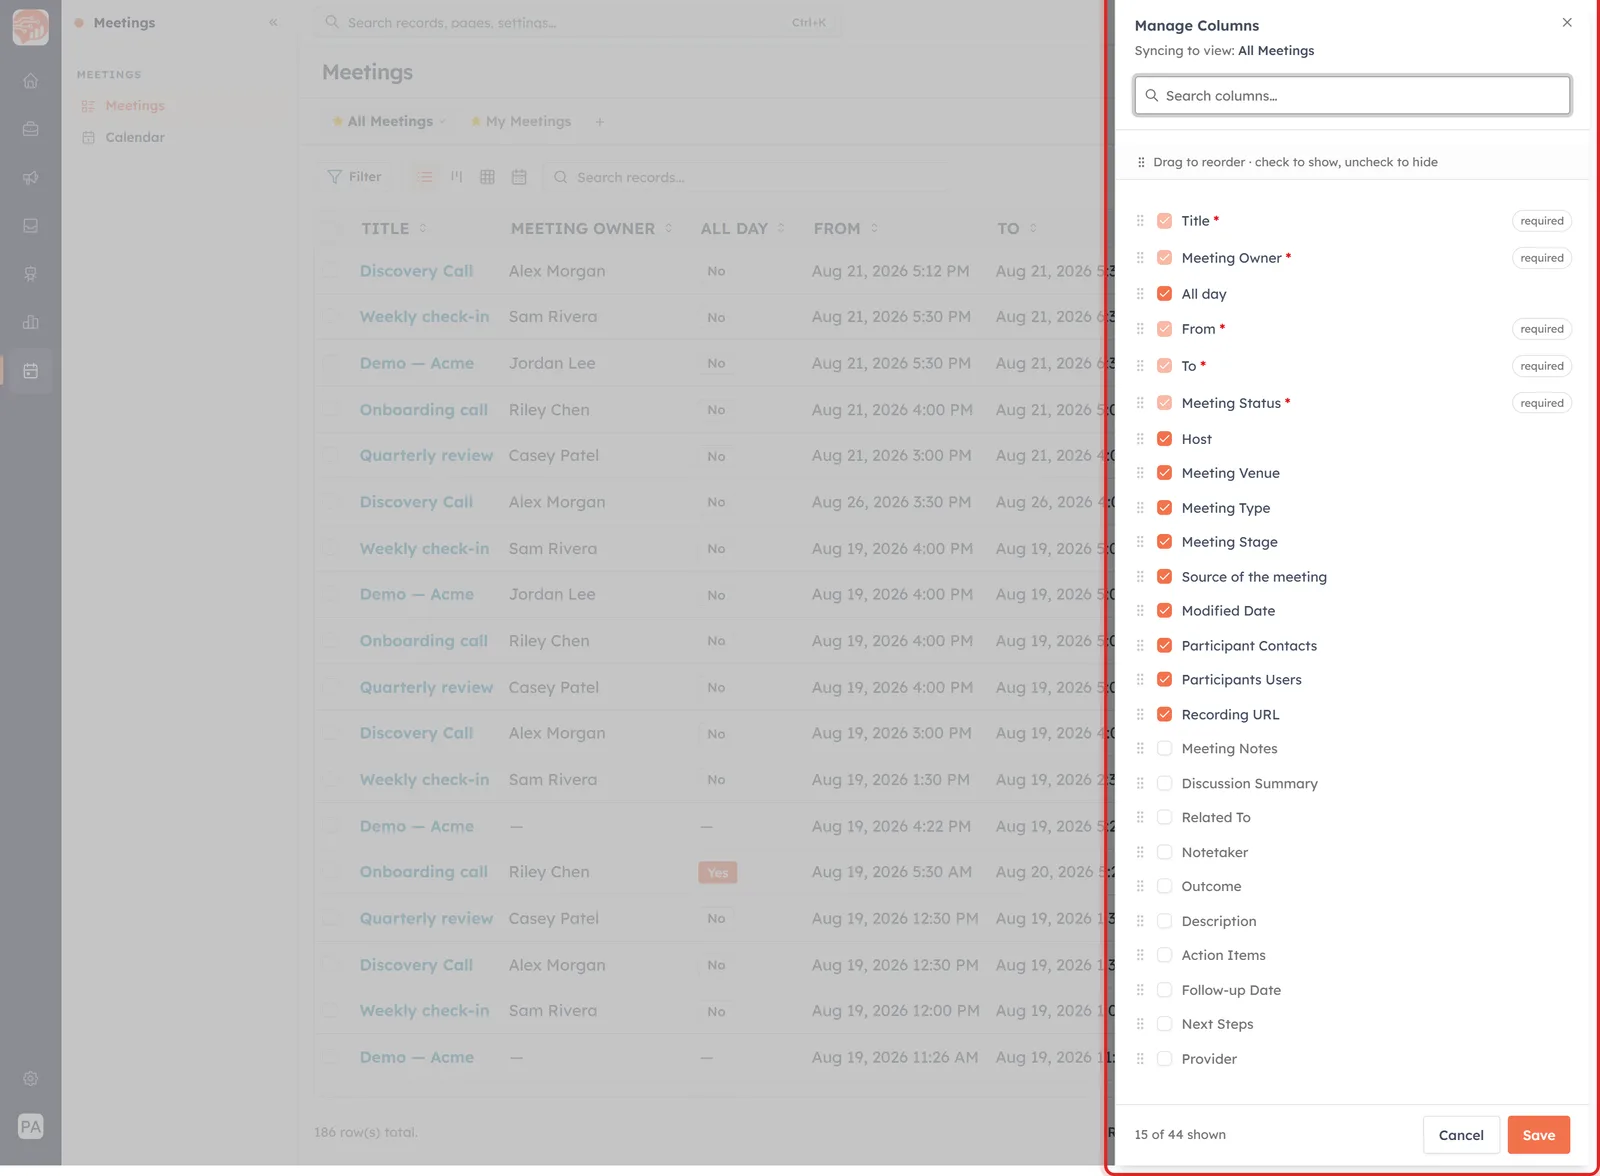
Manage Columns. Tick to show, untick to hide, drag to reorder — and a counter telling you how few of the available fields you are using.
Four things to notice:
- “Syncing to view: All Meetings” at the top. Columns belong to the view, not to you globally — so check which view you are editing before you change anything.
- “Drag to reorder · check to show, uncheck to hide”. Order matters as much as visibility: the columns you actually read belong on the left, where you do not have to scroll for them.
- Five columns are marked required — Title, Meeting Owner, From, To and Meeting Status. They cannot be hidden, which is a reasonable definition of the minimum a meeting row needs.
- The counter, reading something like “15 of 44 shown”. That gap is the point of the panel.
Cancel, Save and Close sit at the bottom. Nothing changes until you save.
The columns worth adding#
All forty-four are fields from the meeting record, so anything you can see on a meeting you can put in the list. Two groups are easy to overlook:
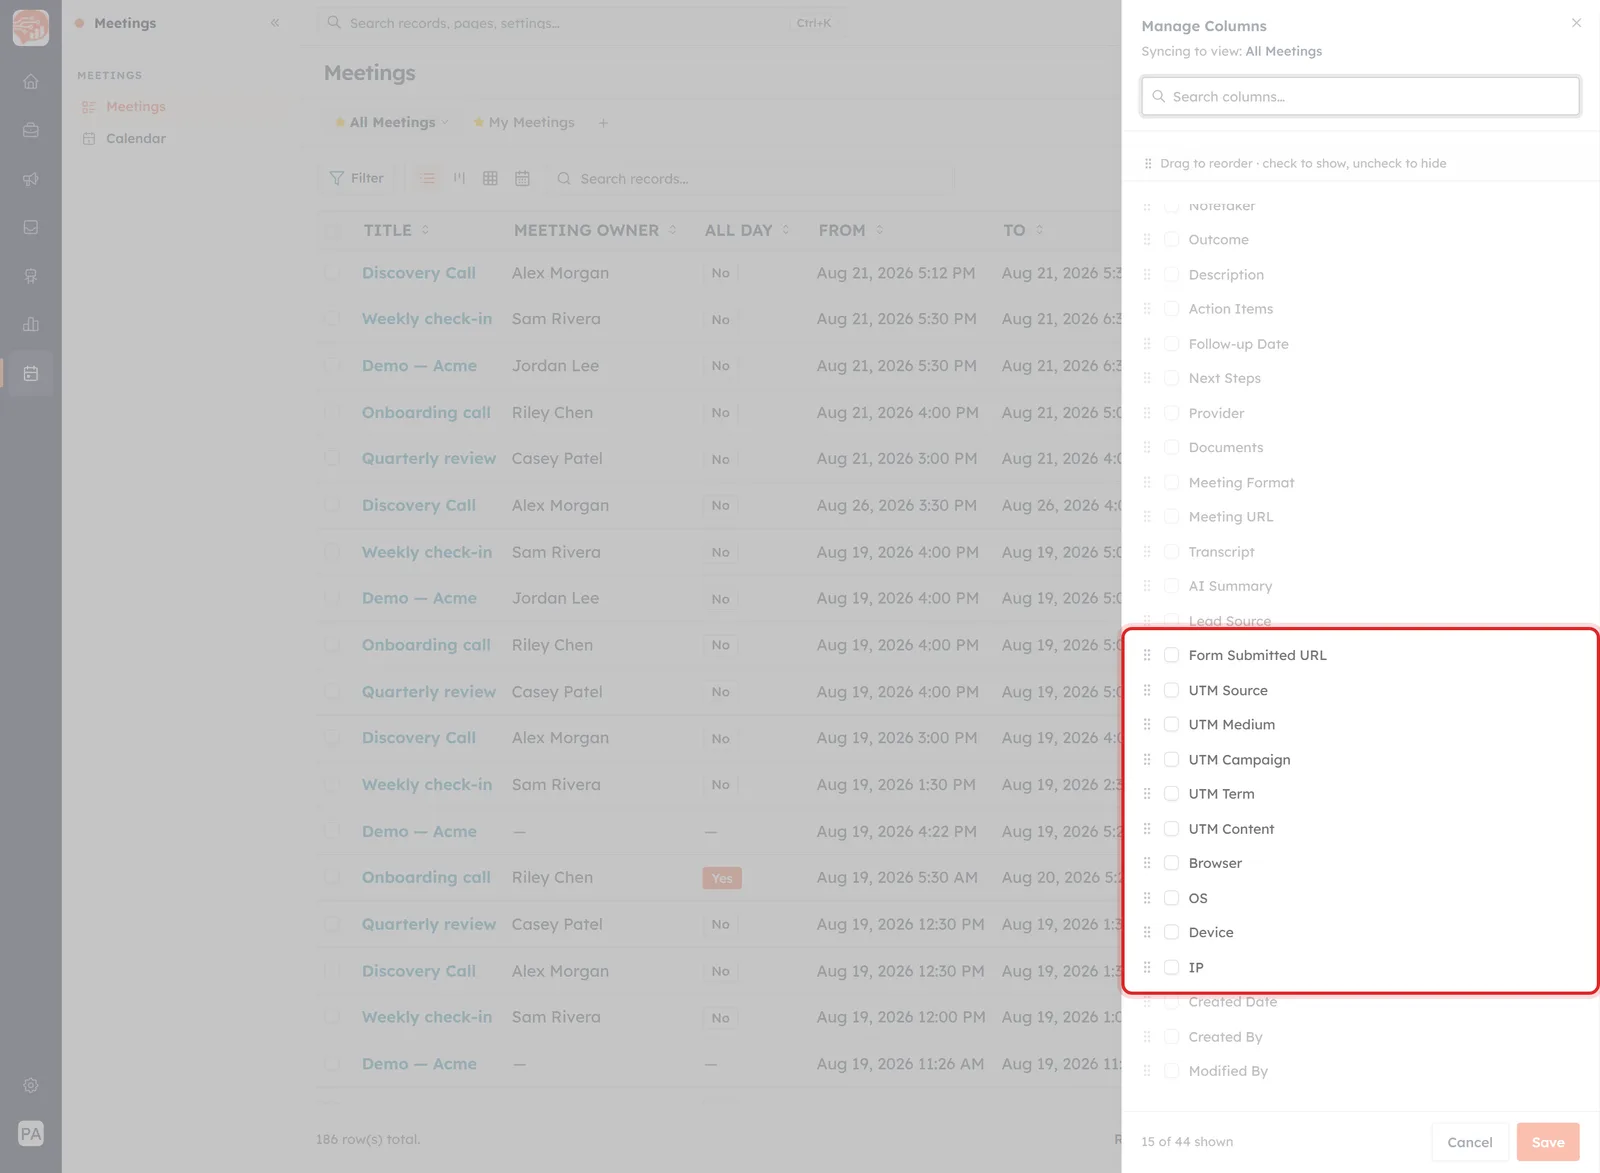
The tracking fields are available as columns — which turns the list into an attribution report.
- The tracking fields — Form Submitted URL, the five UTM fields, Browser, OS, Device and IP. Add UTM Campaign as a column and the Meetings list becomes a report on which campaigns produce meetings. See Where Your Bookings Came From.
- The notetaker outputs — Notetaker, Recording URL, Transcript and AI Summary. A Notetaker column tells you at a glance which meetings have a written record behind them.
Also there: Related To, Provider, Meeting Format, Lead Source, Description and the created/modified fields.
ℹ️
Add sparingly. Every column costs horizontal space, and a list you have to scroll sideways is worse than one missing a field. Adding three and removing three usually beats adding three.
The footer#
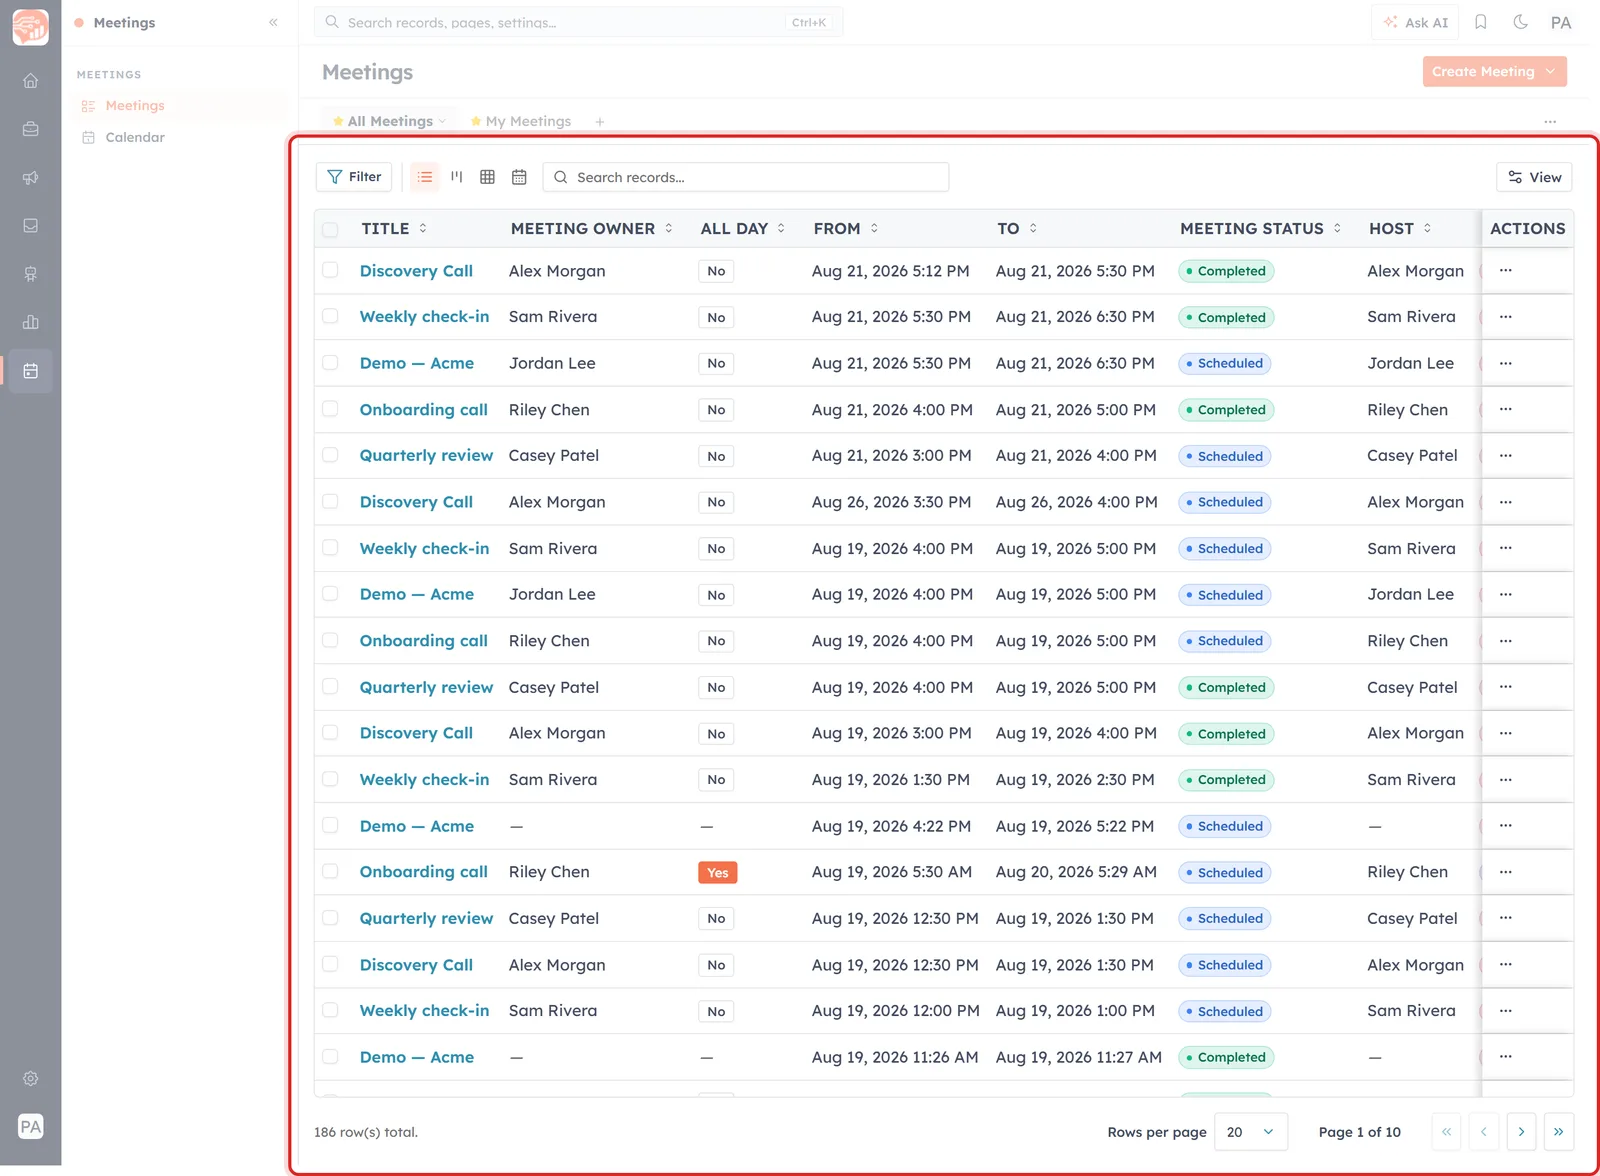
The footer: the total, rows per page, which page you are on, and the paging buttons.
- The total — “186 row(s) total”, for the view you are on. A quick sanity check that a view is filtering the way you think.
- Rows per page — 20 by default.
- Page N of M, with first, previous, next and last buttons.
- The checkboxes down the left select rows, and the footer counts them — “1 row(s) selected”.
Ten minutes well spent#
- Switch to My Meetings and see whether the list makes more sense immediately.
- Open View and read the counter. If it says 15 of 44, there are twenty-nine fields you are not using.
- Remove what you never read before adding anything.
- Drag your two or three most-read columns to the left.
- Save, and remember the columns belong to that view.
Was this article helpful?
Ready to implement this?
OpenAI Engage and apply what you just learned to your own workspace.
Open AI Engage CRM