Loading…


KnowledgeBase
Manage Your Events: Views, Filters & Actions
What this covers#
One booking link needs no managing. Three or four — a discovery call, a demo, a support slot, one a colleague built — and you need to find the right one quickly, see which are actually live, and tell them apart at a glance.
That is what the Events screen is for. This article covers its two views, its search and filters, what each column is telling you, and where per-event actions live. Building an event is Create an Event in the Calendar.
Where the Events screen is#
Open Meetings → Calendar from the sidebar. The heading says Events, and the line under it says exactly what these are: “booking links people can use to schedule time with you”.
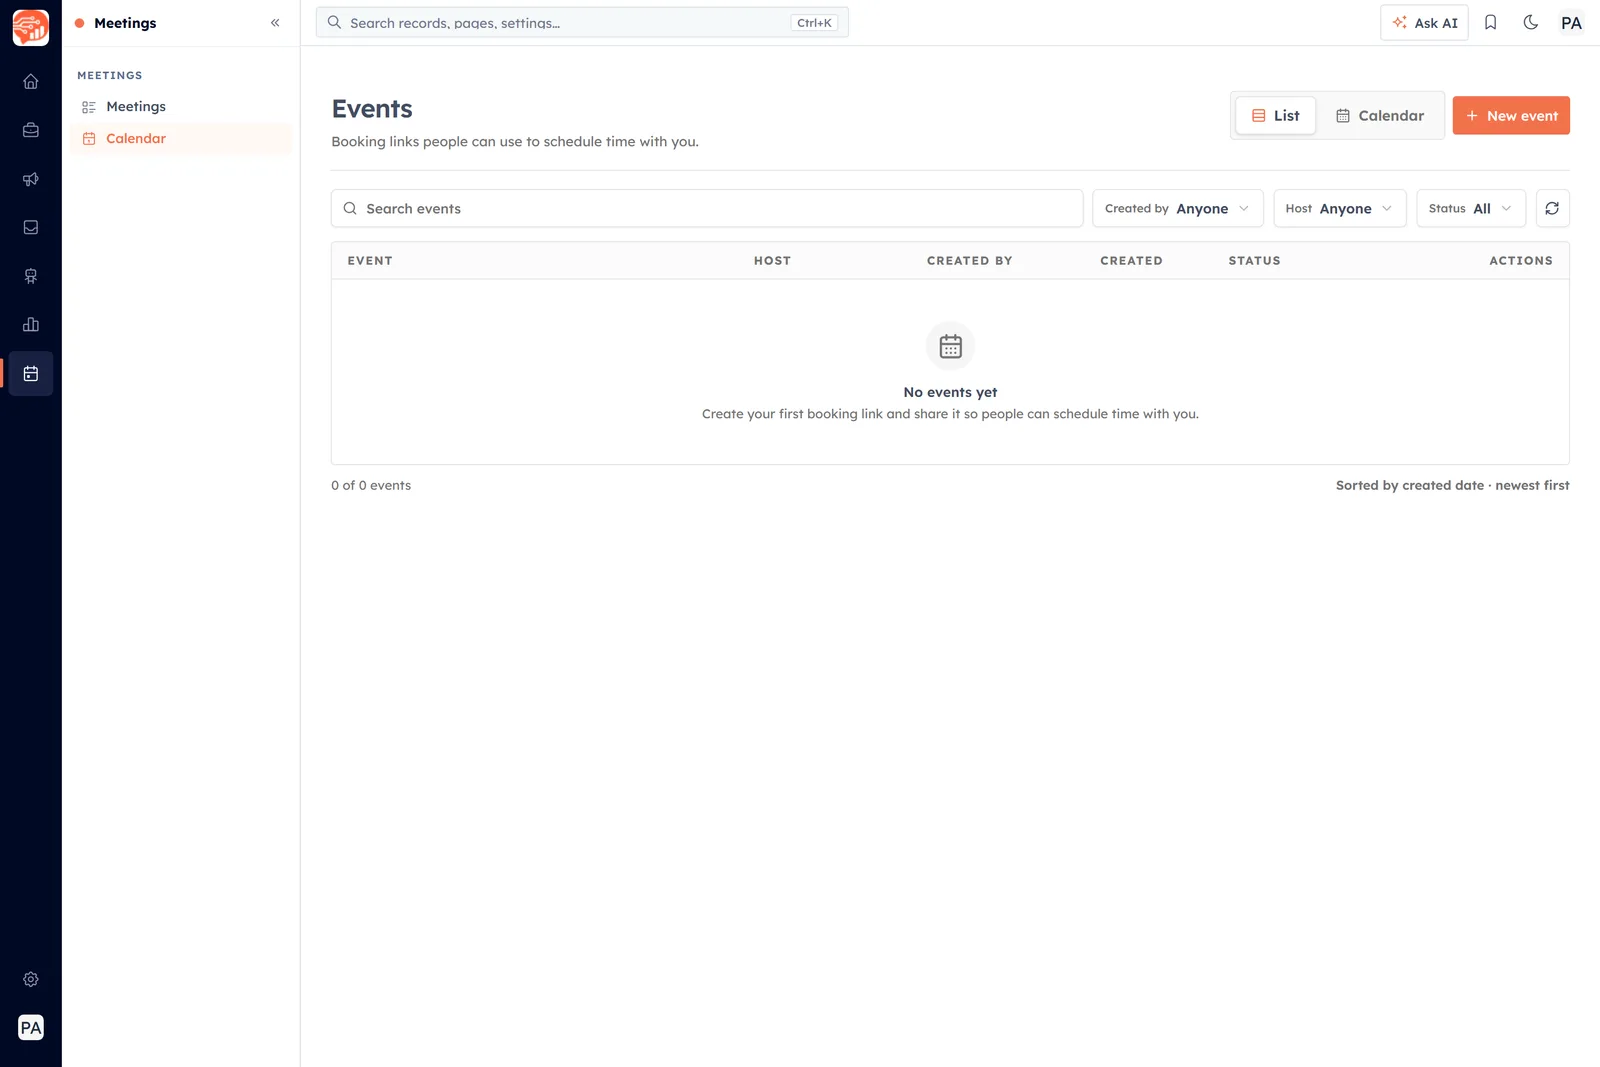
Events in List view. A new account starts here, with “No events yet” and an invitation to build the first link.
Before you have built anything the table shows No events yet and a prompt to create your first booking link. New event, top right, starts the four-step wizard.
Two views of the same events#
The pair of buttons beside New event switches how the same events are displayed. It changes the view, never the data.
List#
A table, one row per event. This is the view for managing the links — checking what exists, who owns what, and what is live.
Calendar#
A month grid with Today, arrows either side of the month name, and Month, Week and Day at the top right.
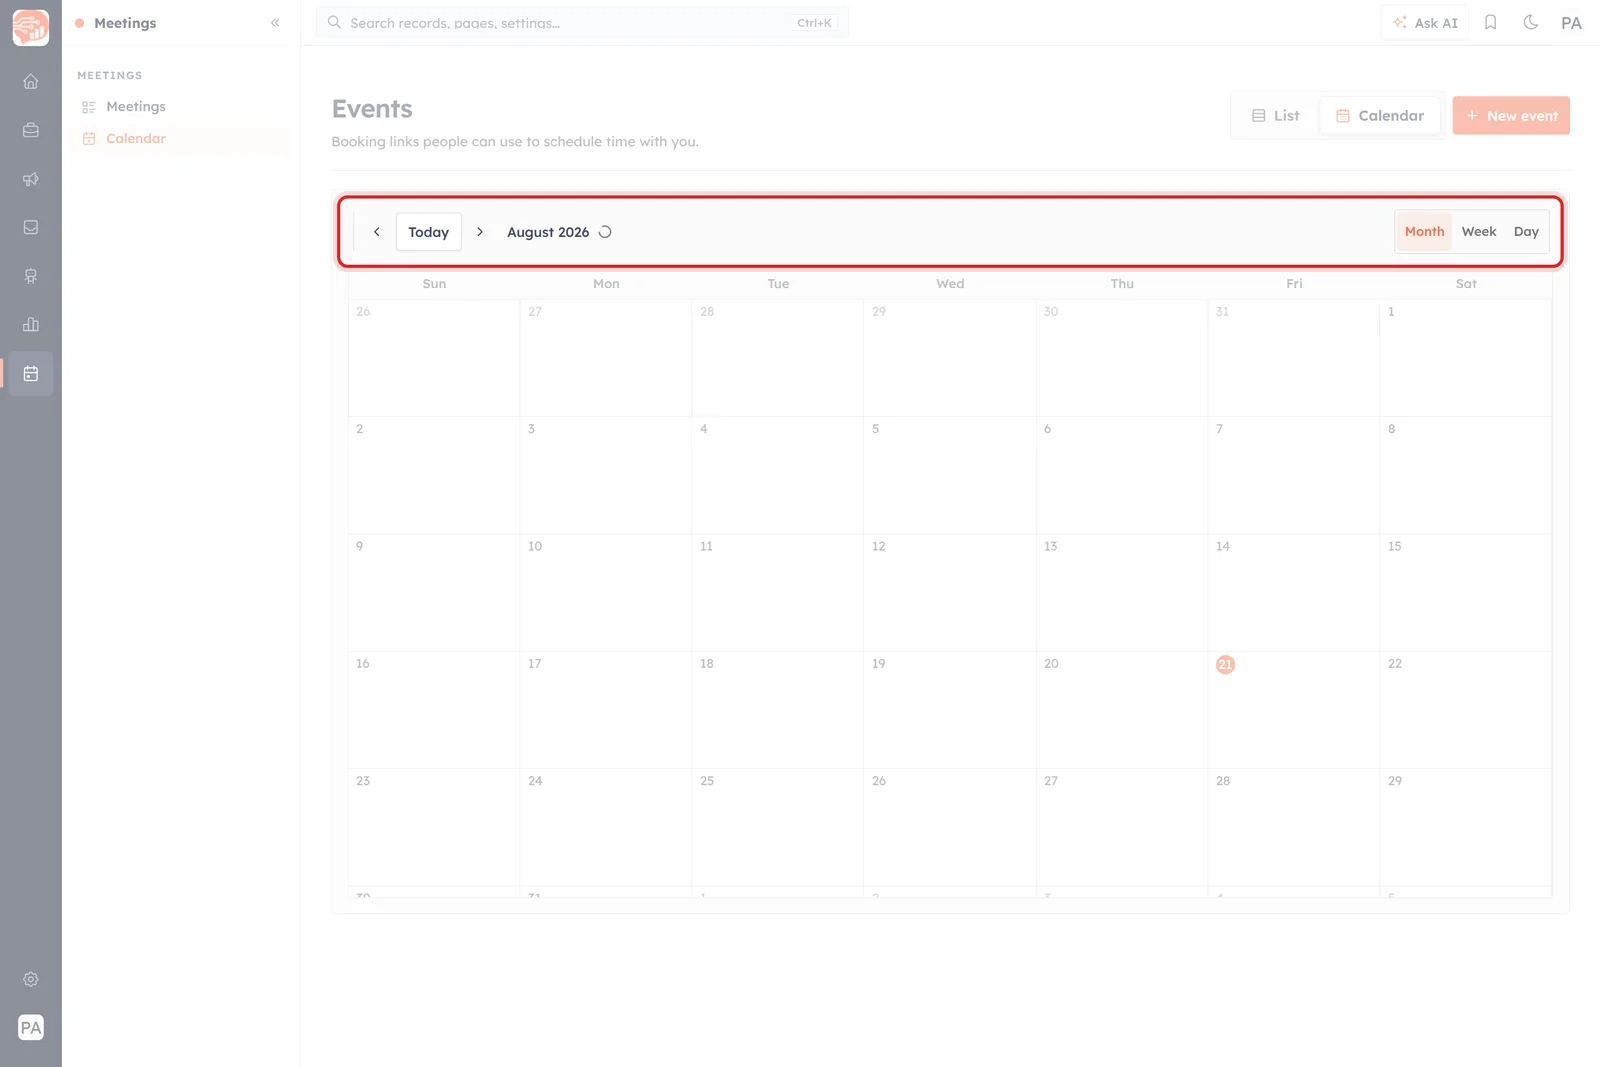
Calendar view. Month, Week and Day change the zoom; Today jumps back to now.
This is the view for seeing time rather than links — what your bookable days actually look like. Drop to Week or Day when a month is too coarse.
Finding one event#
The toolbar above the table narrows the list four ways, and they combine.
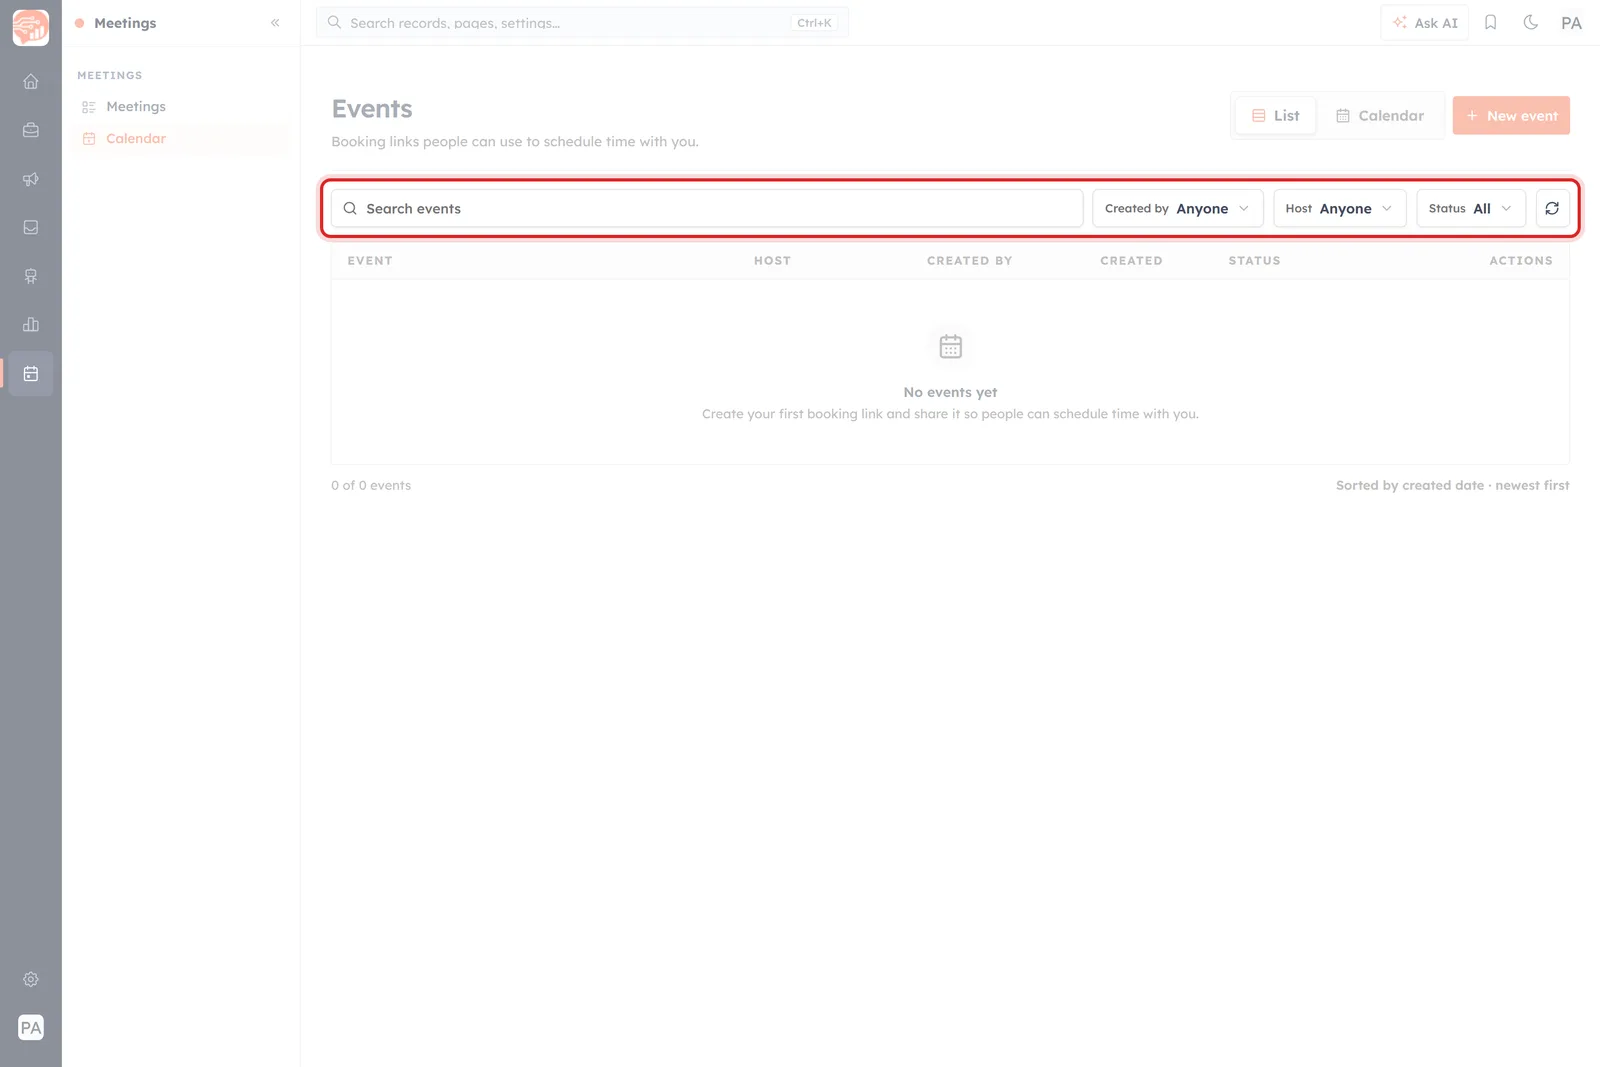
Search on the left; Created by, Host and Status on the right; refresh at the end.
- Search events — free text, for when you know roughly what the event is called.
- Created by — who built the link. Defaults to Anyone.
- Host — whose calendar gets booked, which is not always the person who built it. Also defaults to Anyone.
- Status — All, Live or Draft.
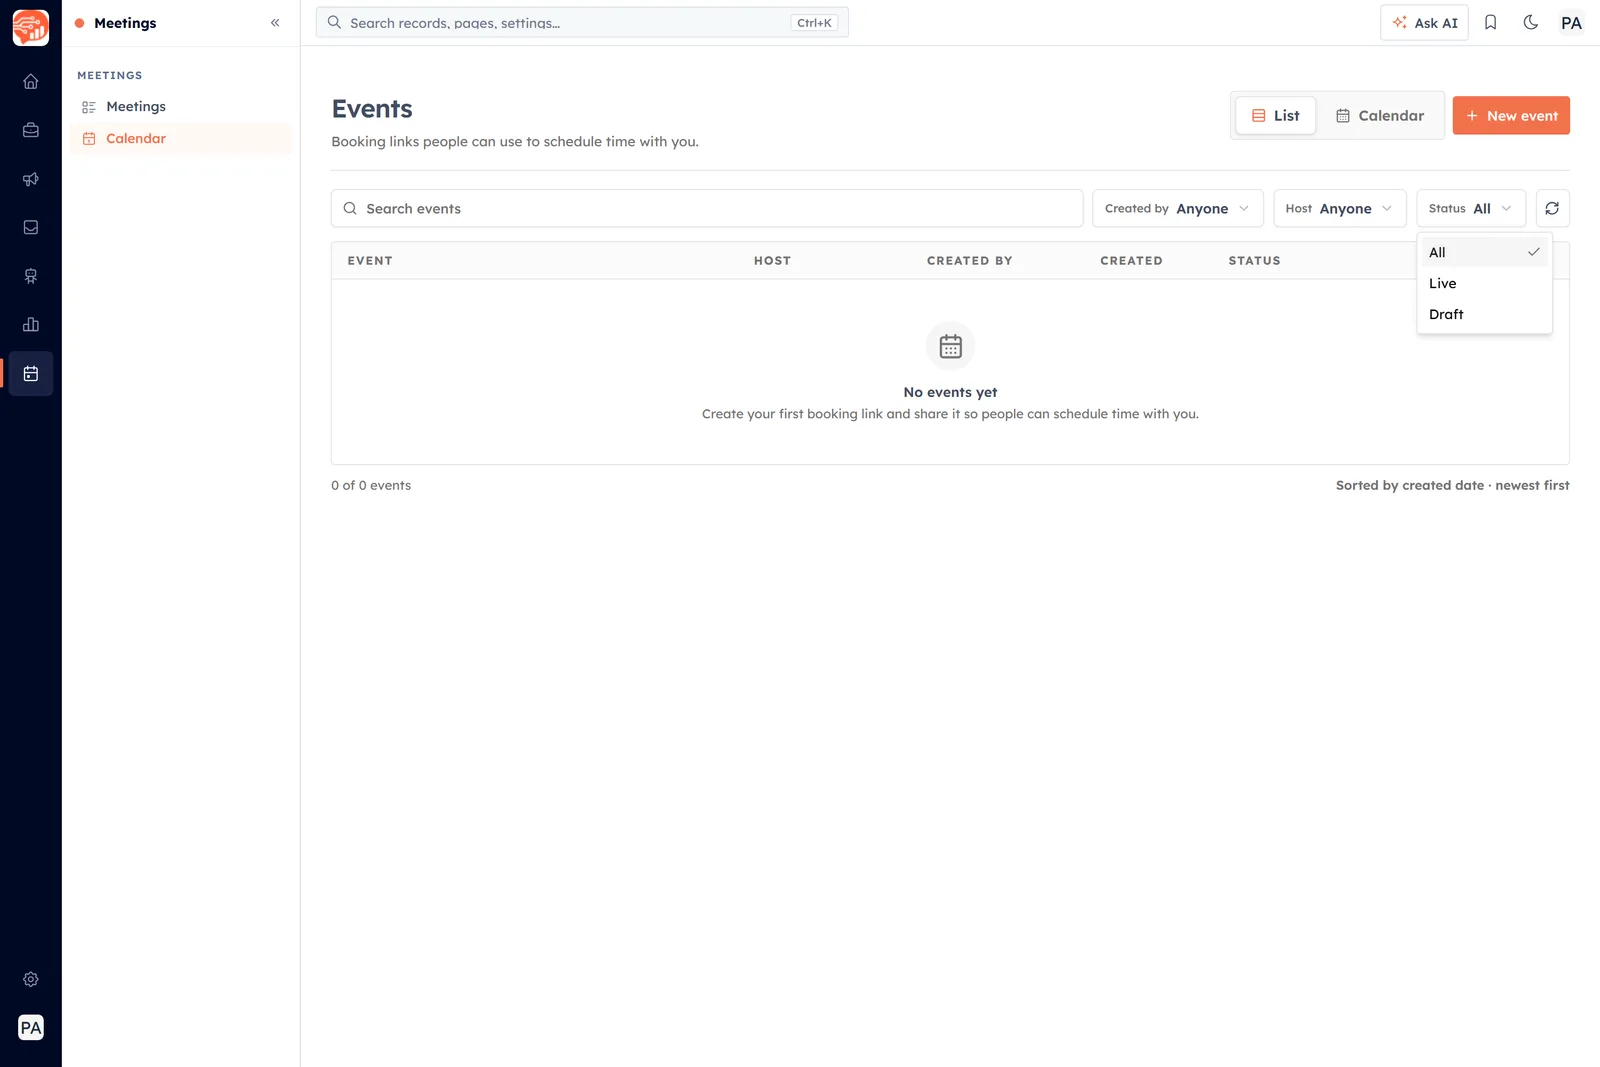
Status: All, Live or Draft.
The Status filter is the one worth knowing:
- Live — published. The booking link works, and anyone holding it can take a slot.
- Draft — not published yet. The link does not exist, so nothing can be booked through it.
💡
Filtering to Live answers the question that actually matters before a busy week: which of my links can strangers book right now?
The refresh button at the end of the row re-reads the list — useful straight after publishing, or when a colleague has just built something.
What the columns tell you#
Each row carries six columns:
- Event — the calendar name. It is also what the booking URL is built from, so the name here is the name invitees see.
- Host — whose availability is being offered.
- Created by — who set it up. On a shared account these two differ more often than you would expect.
- Created — when it was built.
- Status — Live or Draft, per row.
- Actions — the last column, where the per-event actions sit.
Under the table, the left-hand count reads “0 of 0 events” — the number shown against the number that exist, so it tells you immediately when a filter is hiding something. On the right, “Sorted by created date · newest first” — the newest link you built is always at the top.
Acting on a single event#
Anything you do to one event starts from its row: the Actions column at the end is the per-event menu, and the row itself is the event.
⚠️
Renaming a live event is not free. The booking URL is built from the calendar name, so changing it on a published event risks breaking every copy of the link already in circulation — in signatures, on your website, in messages you cannot edit. Hours, duration and location can all change safely; the name is the one to leave alone once it is out there.
Habits that keep this screen useful#
- Name events for the invitee, not for you. Discovery Call reads well in a URL and in this table; Meeting 2 helps nobody.
- Check Status before you share. A Draft link cannot be booked, and the error lands on the invitee, not on you.
- Filter by Host on a shared account so you are looking at your own links rather than the team’s.
- Use Calendar view before a busy week to see how much of it you have already given away.
Where to go next#
- Create an Event in the Calendar — the four-step wizard.
- Set Your Availability for Bookings — the hours behind every event in this list.
- Share Your Booking Link — getting a live link in front of people.
Was this article helpful?
Ready to implement this?
OpenAI Engage and apply what you just learned to your own workspace.
Open AI Engage CRM