Loading…


KnowledgeBase
Build Your First AI Agent
Create an agent#
On the AI Agents dashboard, click Create Agent.
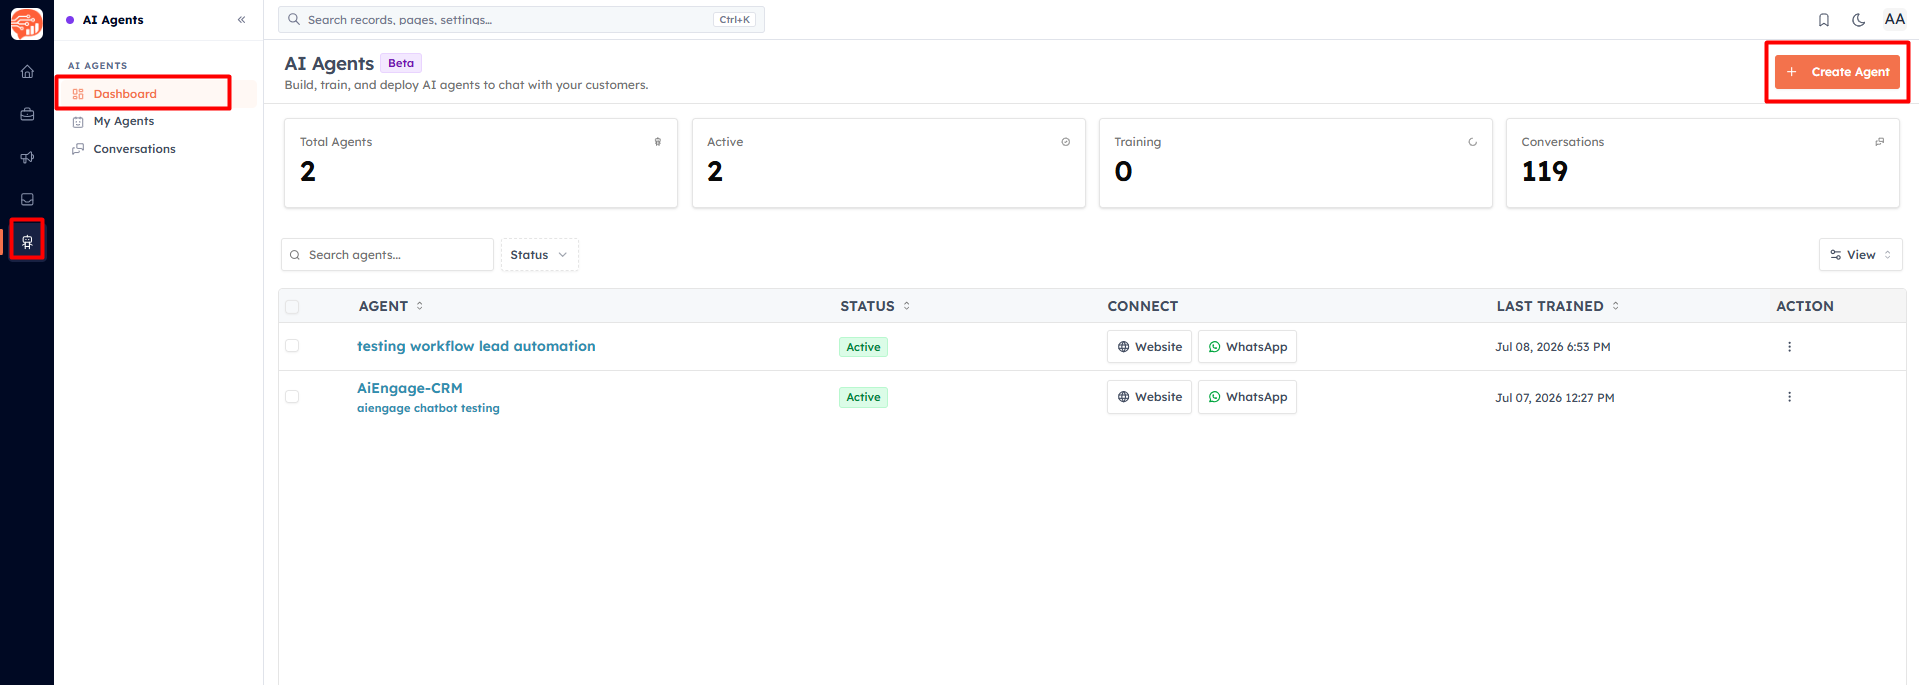
Building an agent is a two-step wizard — Build, then Review & Publish — with a live preview on the right that updates as you type.
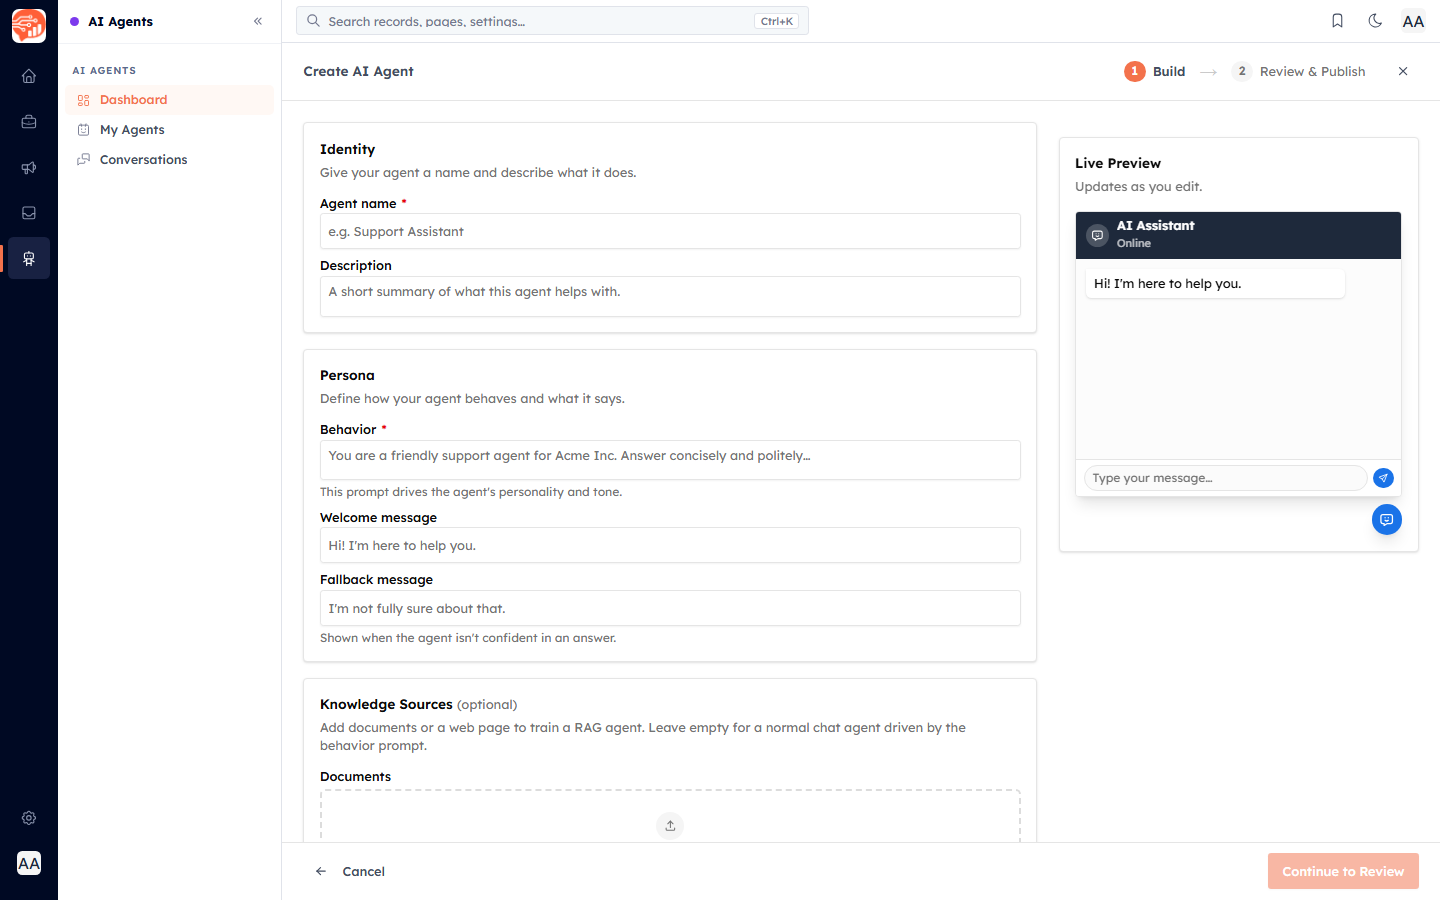
Step 1 — Build#
Identity
Agent name (required) — e.g. "Support Assistant".
Description — a short summary of what it helps with.
Persona — define how the agent behaves and what it says:
Behavior (required) — the prompt that drives the agent's personality and tone (e.g. "You are a friendly support agent for Acme Inc. Answer concisely and politely.").
Welcome message — the first thing visitors see (e.g. "Hi! I'm here to help you.").
Fallback message — shown when the agent is not confident in an answer.
Knowledge Sources (optional) — add documents or a web page to make this a RAG agent that answers from your content. Leave it empty for a normal, behaviour-only agent. (Training is covered in the next article.)
Step 2 — Review & Publish#
Click Continue to Review to check everything, then finish. Your new agent appears on the dashboard, ready to test and connect.
💡
Use the Live Preview while you build — type a message to see how the agent greets and responds before you save.
Was this article helpful?
Ready to implement this?
OpenAI Engage and apply what you just learned to your own workspace.
Open AI Engage CRM